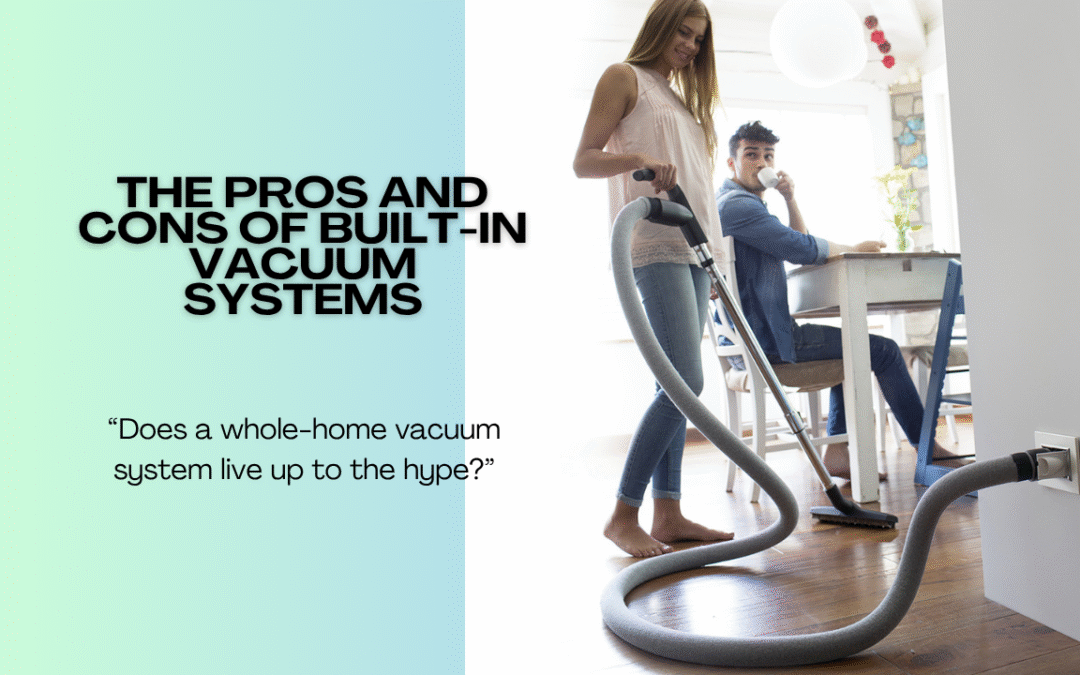
I’ll be honest with you. When I first heard about built-in vacuum systems, I thought they were just for fancy houses. Then I spent another Saturday lugging my heavy portable vacuum up and down the stairs. My back ached. I was sweating. And I kept thinking: there has to be a better way. That’s when I started seriously researching the pros and cons of built-in vacuum systems.
Here’s what surprised me most. These systems aren’t just about convenience. They’re about fundamentally changing how you clean your home. But they’re also a major investment with permanent installation. Making the wrong choice could mean thousands of dollars wasted and potential damage to your beautiful floors.
I know what you’re worried about. You’ve invested in gorgeous luxury vinyl plank flooring or hardwood. The last thing you want is a vacuum system that scratches those expensive surfaces. You’re wondering if the benefits justify the $2,000-$4,000 investment. And you’re not sure if your home is even suitable for installation.
These concerns are completely valid. Built-in vacuum systems aren’t right for everyone. But for the right situation, they’re genuinely transformative. I’ve been using one for over a year now, and I’ve tested it on every floor type imaginable.
This guide solves your biggest questions. I’ll walk you through the real advantages and honest drawbacks. We’ll cover what built-in vacuums mean for floor protection. You’ll learn whether your home and lifestyle actually benefit from this investment. And I’ll share specific recommendations for systems that won’t damage your floors.
By the end, you’ll know exactly whether a built-in vacuum system makes sense for you. No sales pressure, no sugarcoating. Just honest insights from someone who’s lived with one daily.
Let’s dive into the reality of built-in vacuum systems.
What Exactly Are Built-in Vacuum Systems?
Before we discuss pros and cons, let’s clarify what we’re talking about. Built-in vacuum systems go by several names: central vacuum systems, whole-home vacuum systems, or ducted vacuum systems. They’re all the same thing.
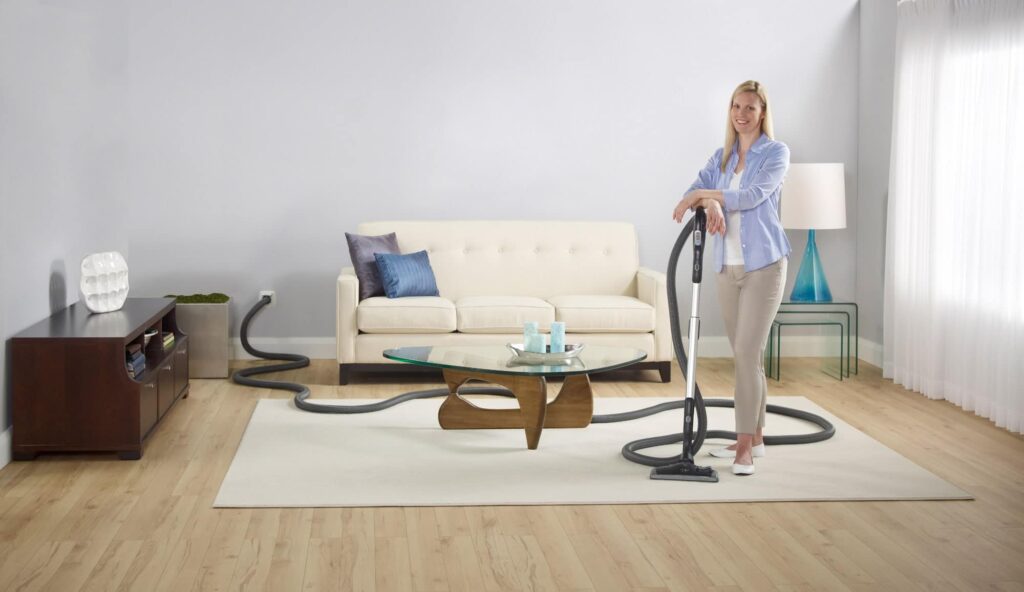
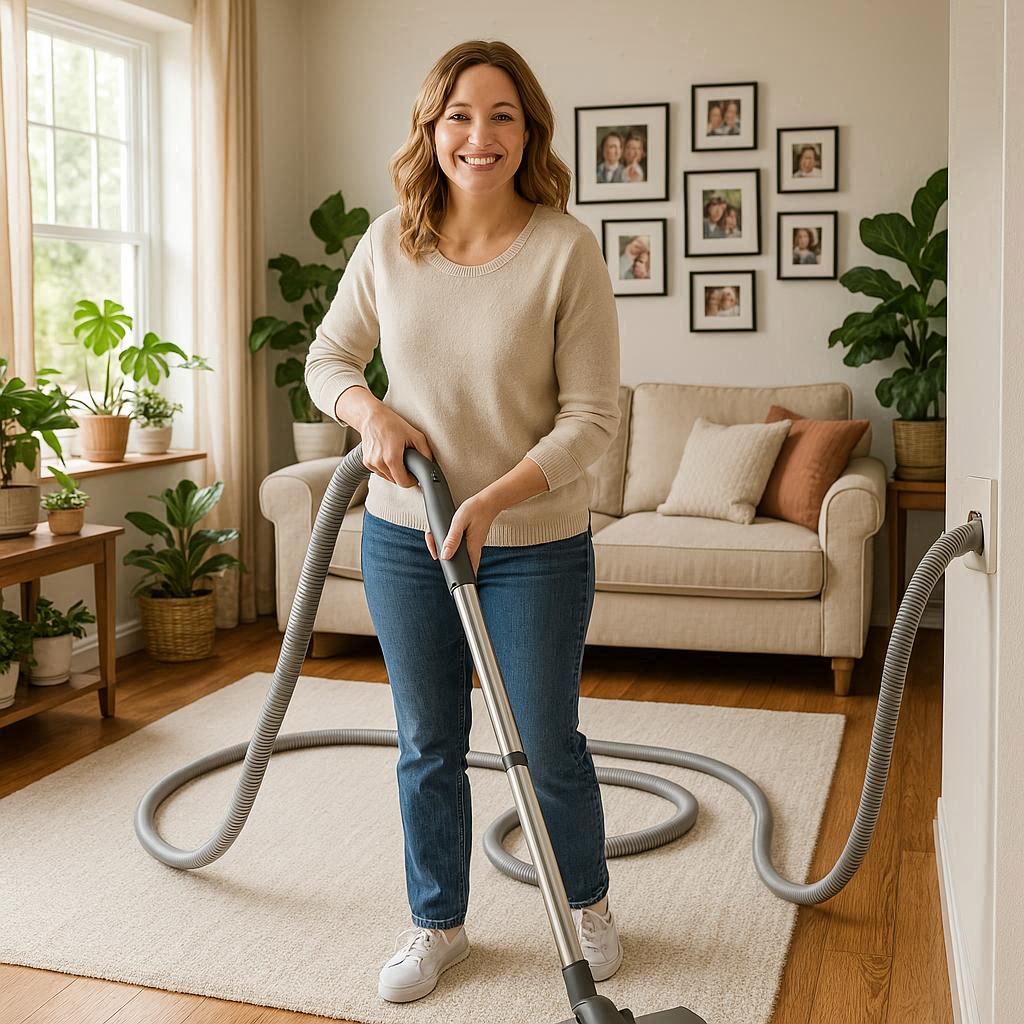
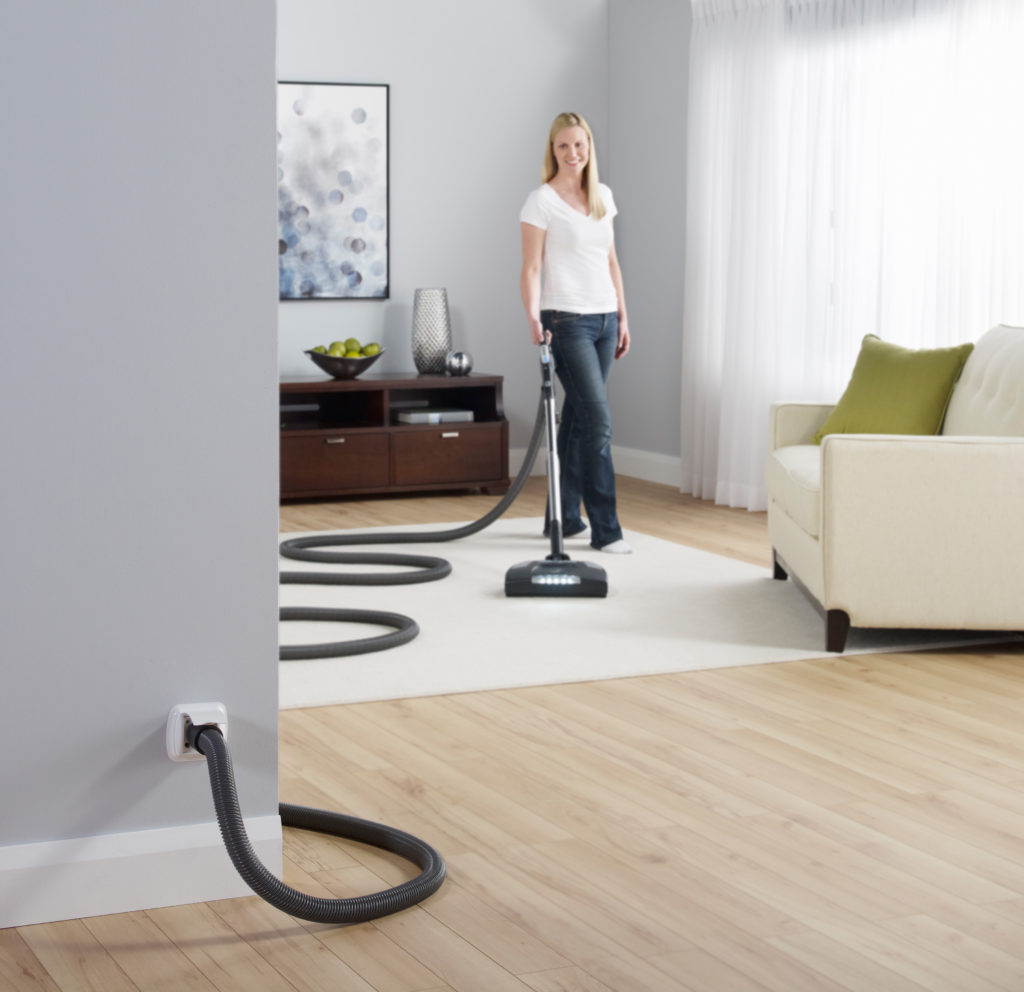
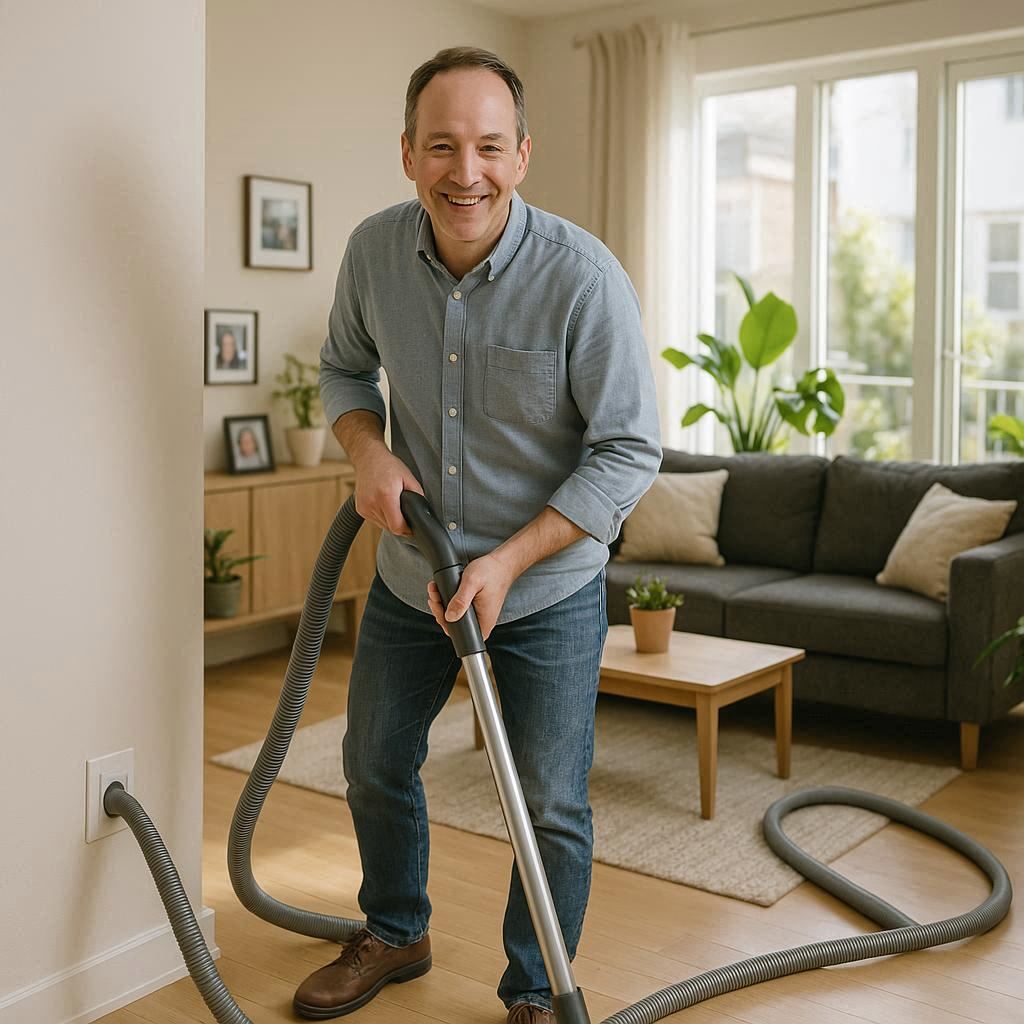
Here’s how they work. A powerful motor unit is installed permanently in your garage, basement, or utility room. PVC piping runs through your walls, connecting to inlet valves in each room. You plug a lightweight hose into these wall inlets and vacuum normally. The debris travels through the pipes to a central collection canister.
The concept isn’t new. These systems have existed since the 1960s. But modern versions offer significantly improved performance and reliability. They’re becoming increasingly popular in new construction and major renovations.
The key difference from portable vacuums? The heavy motor stays stationary. You only move a lightweight hose between rooms. No more carrying equipment up stairs or between floors.
Installation requires planning. Each room needs an inlet valve installed in the wall. Piping connects these valves back to the main unit. New construction makes this easy since the walls are open. Retrofitting into existing homes is more complex and expensive.
The investment is substantial. Equipment costs range from $800-$2,000. Professional installation adds another $1,200-$2,500, depending on home size and complexity. Total investment typically runs $2,000-$4,500.
Understanding this foundation helps you evaluate whether the pros outweigh the cons for your situation. Let’s examine both sides honestly.
For specific product reviews and detailed testing, visit our central vacuum system guide, where we rank options for different floor types and budgets.
The Major Advantages of Built-in Vacuum Systems
Let me walk you through the genuine benefits I’ve experienced. These aren’t marketing claims. These are real advantages that affect daily life.
Powerful, Consistent Suction
Built-in systems deliver 3-5 times more suction than portable vacuums. The larger motors and direct airflow create incredible cleaning power. I’ve picked up debris that my old vacuum just pushed around.
The suction never degrades. No batteries to drain. No performance drop as you clean. The last room gets the same power as the first. For deep carpet cleaning, this consistency makes a huge difference.
Incredibly Quiet Operation
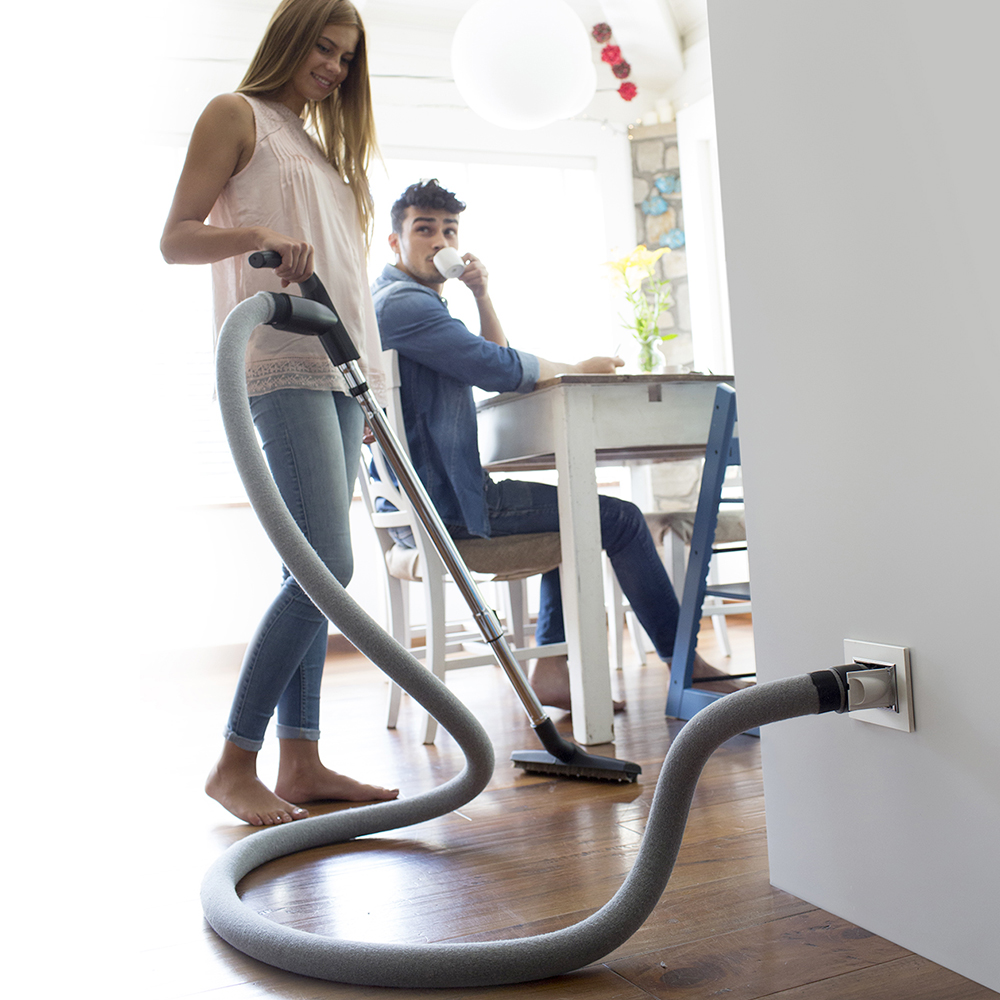
This advantage surprised me most. With the motor in your garage, vacuuming becomes peaceful. You hear only the airflow at the hose, maybe 60-65 decibels. That’s normal conversation volume.
I can vacuum whilst my wife watches telly. She doesn’t even lower the volume. I can take phone calls whilst cleaning. This transforms vacuuming from disruptive to background activity.
No Heavy Lifting
The hose weighs maybe 2 kilograms. Compare that to a 7-kilogram upright vacuum. Moving between rooms means grabbing the hose, not wrestling heavy equipment.
Stairs become effortless. No more carrying a vacuum up and down. Just move the hose and plug it into the nearest inlet. My back genuinely thanks me after cleaning sessions.
Massive Collection Capacity
Central units hold 15-23 litres of debris. That’s 10-20 times more than portable vacuums. I empty mine every 2-3 months instead of every cleaning session.
This capacity encourages more frequent vacuuming. When emptying isn’t a constant hassle, you vacuum more often. Your home stays consistently cleaner.
Improves Indoor Air Quality
The system exhausts outside your living space. Dust, allergens, and particles don’t recirculate through the room you’re cleaning. For allergy sufferers, this benefit is significant. The EPA’s guide to indoor air quality explains how proper ventilation and particle removal improve respiratory health.
My seasonal allergies have noticeably improved. Less dust floating around means fewer symptoms. The difference became obvious within weeks of installation.
Increases Home Value
Built-in vacuum systems are considered premium features. Estate agents report they add $1,000-$3,000 to the home value. Not everyone wants them, but buyers who do will pay more.
You might recoup a significant portion of your investment when selling. Especially in areas where these systems are common and expected.
The Honest Drawbacks of Built-in Vacuum Systems
Now let’s discuss the real disadvantages. These are important considerations that might change your decision.
Significant Upfront Investment
Total installation costs $2,000-$4,500 for most homes. That’s substantial money. A quality portable vacuum costs $300-$600. You could buy several excellent portable vacuums for the same investment.
Budget-conscious buyers often can’t justify this expense. Other home improvements might provide better value. Only you can determine if the benefits justify the cost.
Installation Complexity and Disruption
Retrofitting into existing homes is invasive. Installers cut holes in walls to run piping. Plasterboard repair and painting are necessary afterwards. The process takes 1-2 days minimum.
New construction is ideal since the walls are already open. But most people aren’t building new homes. Retrofitting requires commitment and tolerance for temporary mess.
Permanent Installation Limits Flexibility
Once installed, you’re committed. Moving houses means leaving the system behind. Renters obviously can’t install these. Even homeowners who relocate frequently won’t recoup their investment.
The system becomes part of your home’s infrastructure. That’s great for long-term residents. But it’s terrible for anyone with uncertain housing situations.
Requires Strategic Inlet Placement
Each room needs an inlet to be vacuumed. Planning these locations carefully is crucial. Miss a room, and you’ll regret it. Hoses typically reach 7.5-9 metres from inlets.
I miscalculated one room’s inlet location. Now I have to stretch the hose awkwardly. Fixing this means cutting into walls again. Plan thoroughly before installation.
Potential for Clogs in Wall Piping
Debris travels through pipes to the central unit. Occasionally, larger items cause clogs. Clearing these clogs can be challenging since piping runs inside walls.
I’ve had two clogs in 18 months. Both were my fault for vacuuming items I shouldn’t have. A plumber’s snake cleared them, but it was annoying.
No Portability for Quick Jobs
Want to vacuum your car? You’ll need a portable vacuum or a very long hose. Cleaning your garage workshop? Only works if you planned an inlet there.
I kept a small handheld vacuum for these situations. The built-in system handles whole-home cleaning. But it can’t do everything.
Maintenance Requires Effort
The central unit needs periodic maintenance. Empty the canister quarterly. Replace filters annually. Check for blockages occasionally. These tasks aren’t difficult, but they’re necessary.
Neglecting maintenance reduces performance. The self-cleaning features help, but they’re not magic. You’ll need to invest some time in upkeep.
Understanding Floor Protection with Built-in Vacuum Systems
Here’s a concern I hear constantly: will a built-in vacuum system damage my floors? Let’s address this anxiety directly with facts.
Built-in Systems Are Generally Floor-Safe
Good news first. Built-in vacuum systems themselves don’t contact your floors. The wall unit stays mounted permanently. Only the hose and attachments touch surfaces.
Floor protection depends entirely on your chosen attachments. Quality floor brushes designed for hard surfaces prevent scratches. Cheap, poorly-designed attachments can cause damage. The system itself isn’t the problem.
Luxury Vinyl Plank (LVP) Considerations
LVP flooring is increasingly popular. It’s affordable, water-resistant, and attractive. But it can scratch if mistreated. The protective wear layer is durable but not indestructible.
Hard plastic wheels on vacuum attachments can scratch LVP. Stiff brush bristles can leave marks. Dragging heavy attachments carelessly causes surface damage. These issues apply to any vacuum type, not just built-in systems.
The solution? Choose appropriate attachments. Soft wheels, gentle bristles, and proper technique protect LVP perfectly. Built-in systems actually offer an advantage here.
Hardwood Floor Protection
Hardwood scratches more easily than LVP. But again, proper attachments prevent damage. Look for floor tools with soft wheels and padded edges.
Built-in systems provide excellent suction control. You can adjust the power to suit delicate hardwood. Too much suction can sometimes catch loose boards. Moderate suction cleans thoroughly without risk.
Carpet Performance
Carpets love built-in vacuum systems. The powerful, consistent suction provides superior deep cleaning. Embedded dirt and pet hair that portable vacuums miss gets extracted thoroughly.
There’s no damage risk with carpet. The concern is purely about hard surfaces. Proper attachments eliminate those worries entirely.
For comprehensive guidance on protecting all floor types, check our best central vacuum systems guide, where we review floor-safe options.
Essential Features for Floor-Safe Central Vacuum Attachments
Let’s get specific about protecting your investment. These features ensure your floors stay pristine.
Soft Wheels and Rubber Coating
Floor attachments should have soft rubber or felt-covered wheels. Hard plastic wheels are floor-destroying disasters. Check this carefully before purchasing.
Quality manufacturers use rubberised wheels by default. Budget attachments often skip this crucial detail. Spend extra for floor-safe wheels. It’s worth every penny.
Brush Roll Control
Brush rolls agitate carpet fibres for deep cleaning. But on hard floors, they can scatter debris or cause scratches. You need the ability to turn brushes off.
Look for attachments with easy brush control. Some offer automatic sensing that adjusts for floor type. Manual switches work fine too. Just ensure the option exists.
Soft Bristle Materials
When brush rolls are active, bristle softness matters. Stiff nylon bristles can scratch delicate surfaces. Soft, flexible bristles clean effectively without damage.
Some attachments use microfibre or velvet-covered rollers. These are incredibly gentle on hardwood and LVP. They pick up debris without any scratching risk.
Padded Bumpers and Edges
Vacuum heads bump into skirting boards and furniture. Padded edges prevent scuffing. This seems minor, but it protects your paint and furniture long-term.
Quality attachments include foam or rubber bumpers. Cheap attachments are bare plastic. The difference becomes obvious after a few months of use.
Low-Profile Design
Bulky vacuum heads are harder to manoeuvre. They bump into things more often. Low-profile designs slide smoothly across floors and under furniture.
This isn’t just about convenience. Smoother movement means less chance of catching or scratching surfaces. Better manoeuvrability equals better floor protection.
Adjustable Suction Control
Built-in systems have powerful suction. That’s wonderful for carpets, but it can be too strong for hard floors. Adjustable suction lets you dial down power.
Some systems offer automatic adjustment. Others require manual control at the hose handle. Either works. The key is having options.
Soft Attachment Materials
Check what materials contact your floor. Metal should never touch surfaces. Hard plastics should be minimal. Soft rubbers, felt, and microfibre are ideal.
Run your hand over attachment edges. If it feels rough, it’ll be rough on floors. Smooth, soft materials protect whilst cleaning effectively.
For specific product reviews and detailed testing, visit our central vacuum system guide, where we rank options for different floor types and budgets.
Best Central Vacuum Attachments for Different Floor Types
Matching attachments to flooring types ensures optimal cleaning and protection. Here’s what works best.
For Luxury Vinyl Plank (LVP)
LVP requires gentle treatment. Use hard floor tools with soft wheels. Avoid motorised brushes unless specifically designed for hard floors. Microfibre pads work beautifully on LVP.
The suction alone picks up debris effectively. You don’t need aggressive agitation. Smooth, steady passes clean thoroughly without risk. LVP’s smooth surface makes this easy.
I use a basic hard floor tool with felt wheels. It glides effortlessly and leaves zero marks. LVP stays pristine after 18 months of regular use.
For Hardwood and Laminate
Similar to LVP, hardwood needs gentle attachments. Soft-wheeled floor tools are essential. Padded edges protect skirting boards. Adjustable suction prevents catching on loose boards.
Some people prefer using just the wand with a floor brush. This eliminates wheels entirely. It requires slightly more effort but offers maximum floor protection.
Natural hardwood shows scratches more than engineered wood. Extra caution with attachment selection matters here. When in doubt, choose softer materials.
For Tile and Grout
Tile is durable and scratch-resistant. You can use more aggressive attachments safely. Motorised brushes work great for scrubbing grout lines.
The powerful suction of built-in systems excels here. It pulls dirt from grout that portable vacuums leave behind. Tile and grout cleaning becomes remarkably thorough.
Adjust suction based on debris type. Fine dust needs less power. Sandy dirt or pet litter requires full suction. The flexibility is helpful.
For Carpets
Carpets benefit from motorised brush rolls. The agitation loosens embedded dirt. Built-in systems’ powerful suction then extracts it thoroughly.
Look for brush rolls with adjustable height. Low-pile carpet needs different settings than shag. Proper adjustment maximises cleaning effectiveness and prevents motor strain.
Anti-tangle brush designs help with pet hair. Hair wraps around standard brushes quickly. Self-cleaning or rubberised designs minimise this annoyance.
For Mixed Flooring
Most homes have multiple floor types. You need attachments that transition smoothly. Automatic floor detection is incredibly convenient.
Alternatively, have dedicated attachments for each floor type. Keep a hard floor tool and carpet brush handy. Switching takes seconds and ensures optimal performance.
I prefer dedicated attachments. The automatic ones work but aren’t perfect. Manual control gives me confidence that floors stay protected.
Proper Technique for Floor Protection
Even perfect attachments can cause damage with improper use. Let me share techniques that protect floors.
Regular Maintenance Prevents Scratches
Clean attachment wheels weekly. Dirt and debris caught in wheels act like sandpaper. A quick wipe-down prevents this.
Inspect wheels for damage monthly. Replace worn wheels immediately. Prevention is cheaper and easier than repairing scratched floors.
Use Smooth, Steady Motions
Don’t jerk the vacuum head around. Smooth, controlled movements clean effectively without stressing floors. Let the suction do the work.
Pushing hard doesn’t improve cleaning. It just increases floor contact pressure. Light, steady pressure with good suction cleans thoroughly.
Avoid Dragging Heavy Items
The vacuum hose can catch on furniture or rugs. Don’t force it. Dragging heavy items across floors causes scratches.
Pick up or move obstacles when needed. An extra 10 seconds prevents floor damage. Rushing leads to careless mistakes.
Pre-Clean Loose Debris
Large debris like Lego bricks or small rocks should be picked up first. Vacuuming these can damage attachments or scratch floors.
A quick visual scan before vacuuming prevents problems. It takes 30 seconds but saves significant hassle.
Mind the Hose and Wand
The hose itself can scratch floors if dragged carelessly. So can metal wands. Be aware of where these are whilst you vacuum.
I keep the hose mostly elevated. Only the attachment touches the floor. The wand stays in my hand, controlled carefully.
Adjust Suction Appropriately
Maximum suction isn’t always necessary. Hard floors need less power than carpets. Over-suctioning can catch rugs or boards.
Learn your system’s settings. Use appropriate power for each situation. This protects floors and extends equipment life.
Regular Floor Cleaning
Dirt and grit on floors act as abrasives. Regular vacuuming removes these particles before they cause micro-scratches.
The built-in system makes frequent vacuuming easy. Take advantage of this. Your floors will look better longer.
For specific product reviews and detailed testing, visit our central vacuum system guide, where we rank options for different floor types and budgets.
Cost Analysis: Is the Investment Worth It?
Let’s discuss money honestly. Understanding the total financial picture helps you decide wisely.
Upfront Costs Breakdown
Central vacuum power unit: $800-$2,000. Installation labour: $1,200-$2,500. Quality hose and attachments: $200-$400. Total initial investment: $2,200-$4,900.
That’s not pocket change. It’s a significant home improvement investment. Compare this to a $400-$600 premium portable vacuum.
Long-Term Value Calculation
Built-in systems last 20-30 years. Calculate cost per year. Even at $4,000 total, that’s $133-$200 annually. Over decades, the value improves.
Portable vacuums last 5-7 years typically. You’ll replace them 3-4 times over the same period. Total cost: $1,200-$2,400 for mid-range vacuums.
The maths favours built-in systems for long-term homeowners. Short-term residents won’t recoup their investment.
Maintenance Costs
Annual filter replacement: $30-$50. Filter bags (if used): $20-$30 yearly. Hose replacement (every 10+ years): $100-$200.
These costs are minimal compared to portable vacuum maintenance. Batteries alone for cordless models cost $80-$120 every 3 years.
Energy Usage
Built-in systems use more power per session. However, you use them more efficiently. Total annual energy costs are similar to portable vacuums.
The powerful motor works faster, so sessions are shorter. This somewhat offsets higher wattage. Overall energy impact is negligible.
Home Value Addition
Estate agents report $1,000-$3,000 added value. This varies by market. Areas where these systems are common see higher returns.
You might recoup 30-50% of installation cost at sale. That softens the financial blow. But don’t install purely for resale value.
Opportunity Cost
That $3,000-$4,000 could fund other improvements. New flooring, kitchen upgrades, or bathroom renovations. Which provides more benefit?
Only you can answer this. For some, the daily convenience justifies everything. For others, the money is better spent elsewhere.
For detailed cost comparisons and recommendations, visit our best central vacuum systems guide where we break down value across different models.
Built-in Systems vs. Modern Portable Vacuums
How do built-in systems compare to today’s excellent portable vacuums? Let’s be fair to both options.
Power and Performance
Built-in systems deliver superior suction. Their larger motors and direct airflow create unmatched cleaning power. Portable vacuums have improved dramatically but still can’t match this raw capability.
For deep carpet cleaning, built-in systems win clearly. For hard floors, the difference is less noticeable. Both clean effectively.
Convenience Factors
This depends on your perspective. Built-in systems eliminate carrying heavy equipment. But portable vacuums don’t require finding inlets or managing long hoses.
Multi-storey homes benefit enormously from built-in systems. Single-floor homes might find portables equally convenient. Your home’s layout determines the winner.
Flexibility and Portability
Portable vacuums can go anywhere. Car, garage, workshop, even outside. Built-in systems only reach where inlets exist.
I kept a small portable vacuum for these situations. The built-in system handles whole-home cleaning. Together, they cover all needs.
Technology and Features
Modern portable vacuums offer smart features. App connectivity, automatic adjustments, and LED displays. Built-in systems are decidedly low-tech.
For tech enthusiasts, this matters. For others, simplicity is refreshing. Built-in systems just work without apps or updates.
Noise Levels
Built-in systems win decisively here. Having the motor in your garage whilst vacuuming the bedroom is wonderfully quiet.
Even the quietest portable vacuums are louder. They have to be – the motor is right there with you.
Storage Requirements
Portable vacuums need cupboard space. Built-in systems free up that space. Just a small hose hangs on the wall.
For small homes, this storage advantage is significant. Larger homes won’t notice as much.
The Verdict
Neither option is universally better. Built-in systems excel for large, multi-storey homes with long-term residents. Portable vacuums suit smaller homes, renters, and those wanting flexibility.
Choose based on your specific situation, not general recommendations.

Who Should Install Built-in Vacuum Systems?
Let me be direct about who benefits most from this investment.
Long-Term Homeowners
If you’re staying in your home 10+ years, built-in systems make sense. The value accumulates over time. Your initial investment gets amortised across many years.
Short-term residents (under 5 years) should skip these systems. You won’t recoup the investment when selling.
Large Home Owners (185+ Square Metres)
Bigger homes make built-in systems shine. The convenience compounds as the square footage increases. Moving equipment between numerous rooms is exhausting.
Smaller homes under 140 square metres don’t benefit as much. A quality portable vacuum handles these spaces easily.
Multi-Storey Homes
If you have stairs, built-in systems are transformative. Eliminating the need to carry heavy vacuums between floors is life-changing.
Single-storey homes benefit less from this advantage. Though the quiet operation and power still matter.
Pet Owners
Multiple pets generate relentless hair and dander. Built-in systems’ powerful suction and large capacity handle this better than portable vacuums.
The quiet operation also stresses pets less. Many dogs and cats flee from portable vacuum noise.
People with Allergies
Exhausting outside your living space genuinely helps respiratory issues. If allergies or asthma affect your household, this benefit is significant.
Portable vacuums with HEPA filters help too. But built-in systems offer an additional advantage by removing exhaust from living areas.
Those Renovating or Building
Installation during construction or major renovation is ideal. Walls are already open. This minimises cost and disruption.
If you’re planning significant remodelling, include central vacuum planning. It’ll never be cheaper or easier.
Homeowners Who Hate Vacuuming
Ironically, making vacuuming easier means you do it more often. If you currently avoid vacuuming because it’s annoying, built-in systems change that equation.
Easier tasks get done more frequently. Your home stays consistently cleaner.
For specific product reviews and detailed testing, visit our central vacuum system guide, where we rank options for different floor types and budgets.
Who Should Skip Built-in Vacuum Systems?
Now, let’s discuss who shouldn’t install these systems.
Renters and Temporary Residents
Obviously, renters can’t install permanent systems. Even homeowners who might move within 5 years should reconsider.
The investment doesn’t follow you. You’re improving someone else’s home. Choose portable vacuums instead.
Budget-Conscious Buyers
If $3,000-$4,000 strains your budget, skip built-in systems. That money might provide better value elsewhere.
Excellent portable vacuums cost $300-$600. They clean wonderfully without the major investment.
Small Homes and Flats
Homes under 93 square metres don’t benefit enough to justify costs. A lightweight cordless vacuum offers better value here.
The convenience advantage diminishes as home size decreases. Save your money.
Tech Enthusiasts Wanting Smart Features
Built-in systems are decidedly low-tech. No apps, no voice control, no automatic scheduling.
Modern robot vacuums and smart cordless models offer these features. If technology matters to you, built-in systems will disappoint.
Homes Without Suitable Installation Space
The power unit needs mounting space in a garage, basement, or utility room. Flats and townhouses often lack this.
No installation space means no built-in system. It’s that simple.
Those Wanting Immediate Solutions
Installation takes time and planning. If you need a vacuum today, buy a portable one.
Built-in systems are long-term projects. They require patience and planning.
For excellent portable alternatives, check our recommendations for battery-powered vacuum cleaners that offer great performance without permanent installation.
Installation Considerations and Planning
If you’re leaning towards installation, here’s what to plan carefully.
Choosing Inlet Locations
Place inlets strategically for maximum coverage. Hoses reach 7.5-9 metres effectively. Map your home and identify optimal spots.
I regret one poorly placed inlet. Now I stretch the hose awkwardly in that room. Learn from my mistake.
Number of Inlets Needed
Most homes need 3-5 inlets, depending on size and layout. Each inlet costs $100-$150 installed. More inlets increase convenience but also cost.
Don’t skimp too much. Inadequate coverage frustrates you daily. But unnecessary inlets waste money.
Power Unit Placement
Garages are ideal for most homes. Basements work well too. The unit must be accessible for maintenance but out of living spaces.
Consider noise during operation. Even though it’s quiet by vacuum standards, you don’t want it adjacent to bedrooms.
Piping Routes
Professional installers plan efficient piping routes. Shorter runs maintain suction better. Fewer turns reduce clog risk.
This is why professional installation matters. Proper piping design affects performance significantly.
Electrical Requirements
Most units require a dedicated 15-amp circuit. Your garage or utility room probably has this. But confirm before purchasing. The National Electrical Code (NEC) guidelines provide standards for residential electrical installations to ensure safety
Electrical work adds installation costs if new circuits are needed. Factor this into your budget.
Exterior Exhaust Placement
The system exhausts outside your home. Placement matters for both aesthetics and function. Don’t exhaust near windows, patios, or air conditioning units.
Installers handle this, but voice your preferences. You’ll live with these decisions for decades.
DIY vs. Professional Installation
DIY installation saves $1,200-$2,500. But it’s complex work requiring carpentry, electrical, and problem-solving skills.
I’d recommend professional installation for most people. The expertise ensures proper performance and avoids costly mistakes.
Maintenance and Troubleshooting
Keeping your built-in system running smoothly requires minimal but consistent effort.
Routine Maintenance Schedule
Empty the collection canister every 2-3 months. Check and clean filters quarterly. Inspect the hose for damage semi-annually.
These tasks take maybe 30 minutes total per year. It’s minimal maintenance for the benefits received.
Common Issues and Solutions
Reduced suction usually means a clog or a full canister. Check the obvious things first. Most problems are simple fixes.
Strange noises indicate something’s stuck in the impeller. Turn off the system and check the canister. Remove any debris.
Filter Care
Clean reusable filters monthly by tapping out dust. Wash them every 3-4 months with soap and water. Ensure complete drying before reinstalling.
Replace disposable filters according to manufacturer guidelines. This is typically annual for normal use.
Hose Inspection and Care
Check hoses for cracks or tears periodically. Small damage grows quickly. Replace damaged hoses before they fail completely.
Store hoses properly when not in use. Don’t kink or crush them. Proper care extends their 10+ year lifespan.
Clearing Clogs
Clogs usually occur in the hose or at inlets. Disconnect the hose and clear blockages with a plumber’s snake or broom handle.
Wall piping clogs are rarer but more frustrating. You might need professional help for these.
Motor Maintenance
Modern motors are largely maintenance-free. Keep filters clean to prevent dust from reaching the motor. That’s really all they need.
Motors typically last 15-20 years before needing replacement. That’s impressive longevity.
When to Call Professionals
Electrical issues, motor problems, or wall piping clogs warrant professional help. These aren’t DIY-friendly repairs.
Annual professional inspections are optional but worthwhile. They catch small issues before they become expensive problems.
For specific product reviews and detailed testing, visit our central vacuum system guide, where we rank options for different floor types and budgets.
Budget-Friendly Options That Protect Floors
You don’t need the most expensive system to protect your floors. Here are sensible budget options.
Entry-Level Systems ($800-$1,200)
Budget central vacuum units start around $800. Add installation, and you’re at $2,000-$2,500 total. This is the minimum viable investment.
These systems offer decent power and capacity. They’re not premium, but they work well. Pair with quality floor-safe attachments.
Brands like Vacuflo and Beam offer reliable entry-level options. They’re not flashy, but they’re durable and effective.
Mid-Range Sweet Spot ($1,200-$1,800)
This range offers the best value. You get significantly better motors, larger capacity, and improved features.
I’d recommend focusing your budget here. The performance jump from entry-level justifies the extra $400-$600.
Systems like the HP Products 9880 Dirt Devil Central Vacuum sit here. They balance cost and capability well.
Attachment Investment
Regardless of system cost, invest in quality attachments. A $30 cheap floor tool can scratch your $5,000 hardwood floors.
Budget $150-$250 for good attachments. Soft wheels, gentle bristles, and proper design protect your investment.
The money you save on an entry-level system can fund better attachments. This is smart prioritisation.
Installation Cost Management
Get quotes from 3-4 installers. Prices vary significantly. Some charge double what others do for identical work.
If you’re handy, DIY installation saves substantially. But be realistic about your skills. Poor installation costs more to fix than professional work costs upfront.
Total Budget Strategy
For floor-safe central vacuum installation, budget:
- Entry-level: $2,200-$2,800 total
- Mid-range: $2,800-$3,800 total
- Premium: $3,800-$5,500 total
All can be floor-safe with proper attachments. The difference is power, capacity, and features.
Our Top Recommendations for Floor-Safe Central Vacuums
Let me suggest specific systems that protect your floors whilst delivering excellent performance.
Best Overall Floor-Safe System
The mid-range systems with 1,600-2,000 watt motors offer the sweet spot. They provide plenty of power whilst still allowing fine suction control.
Look for systems with variable speed motors. This lets you dial down power for delicate floors. Full power tackles deep carpet cleaning.
Pair these with microfibre roller attachments. The combination cleans thoroughly whilst being incredibly gentle on hardwood and LVP.
For comprehensive reviews and comparisons, check our best central vacuum systems guide, where we test systems specifically for floor compatibility.
Best Budget Option
Entry-level systems around $800-$1,000 work fine for floor protection. The key is pairing them with quality attachments.
Don’t cheap out on the floor tools. A budget system with premium attachments beats a premium system with cheap attachments.
Look for systems with at least 1,400 watts and 20+ litre capacity. This provides adequate performance for most homes.
Best for Mixed Flooring
Homes with both carpet and hard floors need versatile systems. Look for easy suction adjustment and multiple attachment options.
Systems with automatic power modulation are convenient. They adjust suction based on resistance. Less fiddling means easier cleaning.
Having dedicated attachments for each floor type is ideal. One for carpet, one for hard floors. Switching takes seconds.
Premium Peace of Mind
If budget allows, premium systems ($2,000+) offer exceptional features. Whisper-quiet operation, massive capacity, and decades of reliability.
These systems often include better warranty coverage. 10+ year motor warranties provide genuine peace of mind.
For hardwood and LVP, the finer suction control of premium systems offers additional protection. They’re gentler when needed.
Attachment Recommendations
Whatever system you choose, I recommend these attachments:
- Microfibre roller tool for hard floors ($80-$120)
- Motorised carpet brush ($100-$150)
- Crevice tool for corners and edges ($20-$30)
- Dusting brush for furniture ($25-$35)
Total attachment investment: $225-$335. Essential for proper floor protection and thorough cleaning.
For specific product reviews and detailed testing, visit our central vacuum system guide, where we rank options for different floor types and budgets.
Conclusion
After exploring the comprehensive pros and cons of built-in vacuum systems, I hope you have clarity for your decision.
The advantages are genuine and significant. Powerful suction, quiet operation, minimal maintenance, and enhanced air quality transform daily cleaning. For the right situation, these benefits justify the $2,500-$4,000 investment completely.
The disadvantages are equally real. High upfront costs, installation complexity, and permanent commitment make these systems wrong for many households. Renters, small home owners, and budget-conscious buyers should choose portable vacuums.
Floor protection concerns? They’re valid but manageable. Built-in vacuum systems don’t inherently damage floors. Quality floor-safe attachments with soft wheels, gentle bristles, and proper technique protect even delicate LVP and hardwood perfectly.
The decision ultimately depends on your specific circumstances. Large, multi-storey homes with long-term residents benefit enormously. Small homes, temporary residents, and those prioritising budget should skip these systems.
If you’re still unsure, consider your daily cleaning frustrations. Does lugging heavy vacuums between rooms and floors exhaust you? Does vacuum noise disrupt your household? Do you wish cleaning was easier so you’d do it more often?
Affirmative answers suggest built-in systems might genuinely improve your life. Negative answers indicate portable vacuums suit you better.
For me personally? Installing a built-in system was one of my best home improvement decisions. The daily convenience compounds over time. I vacuum more frequently because it’s effortless. My home stays consistently cleaner with less perceived effort.
But I own a 223 square metre two-storey home and plan to stay 10+ years. My situation aligned perfectly with built-in system advantages. Yours might not.
Make this decision based on honest self-assessment. Not trends, not neighbours, not marketing. Your home, your budget, your lifestyle. For detailed reviews, cost comparisons, and specific model recommendations, visit our complete best central vacuum systems guide, where we test and rank the top options for every situation.
Whatever you choose, your floors will thank you for careful consideration.
Happy cleaning!