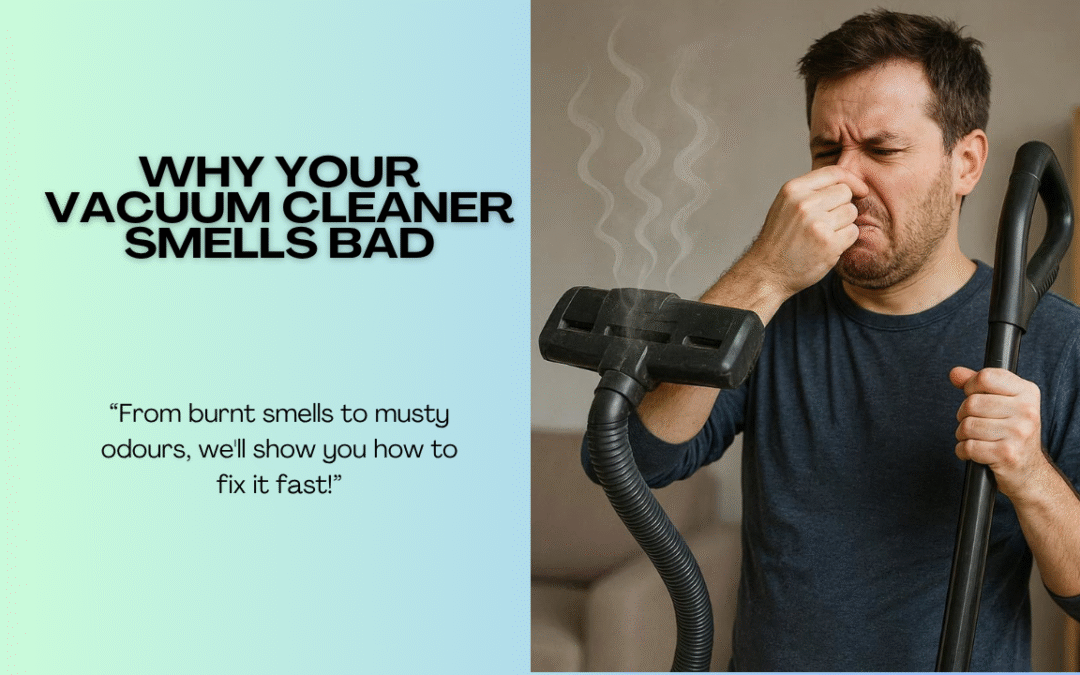
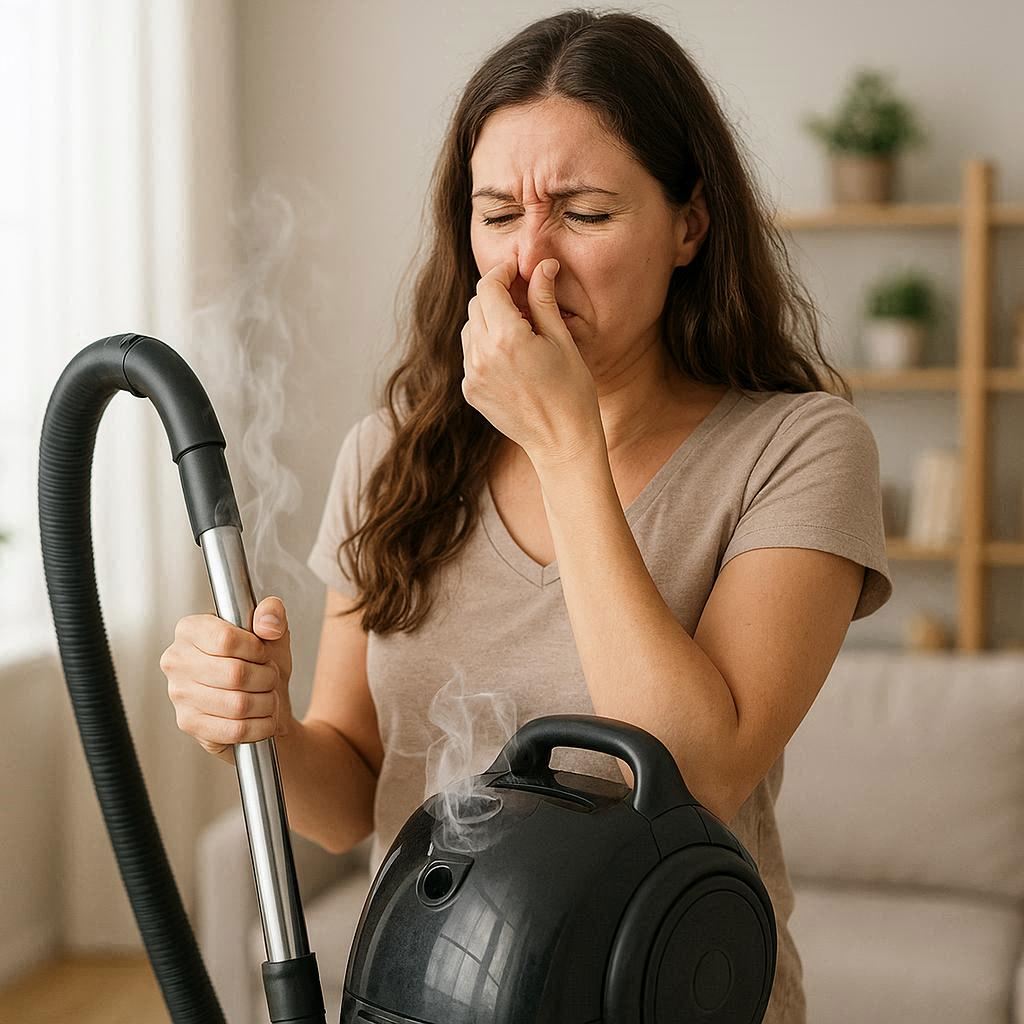
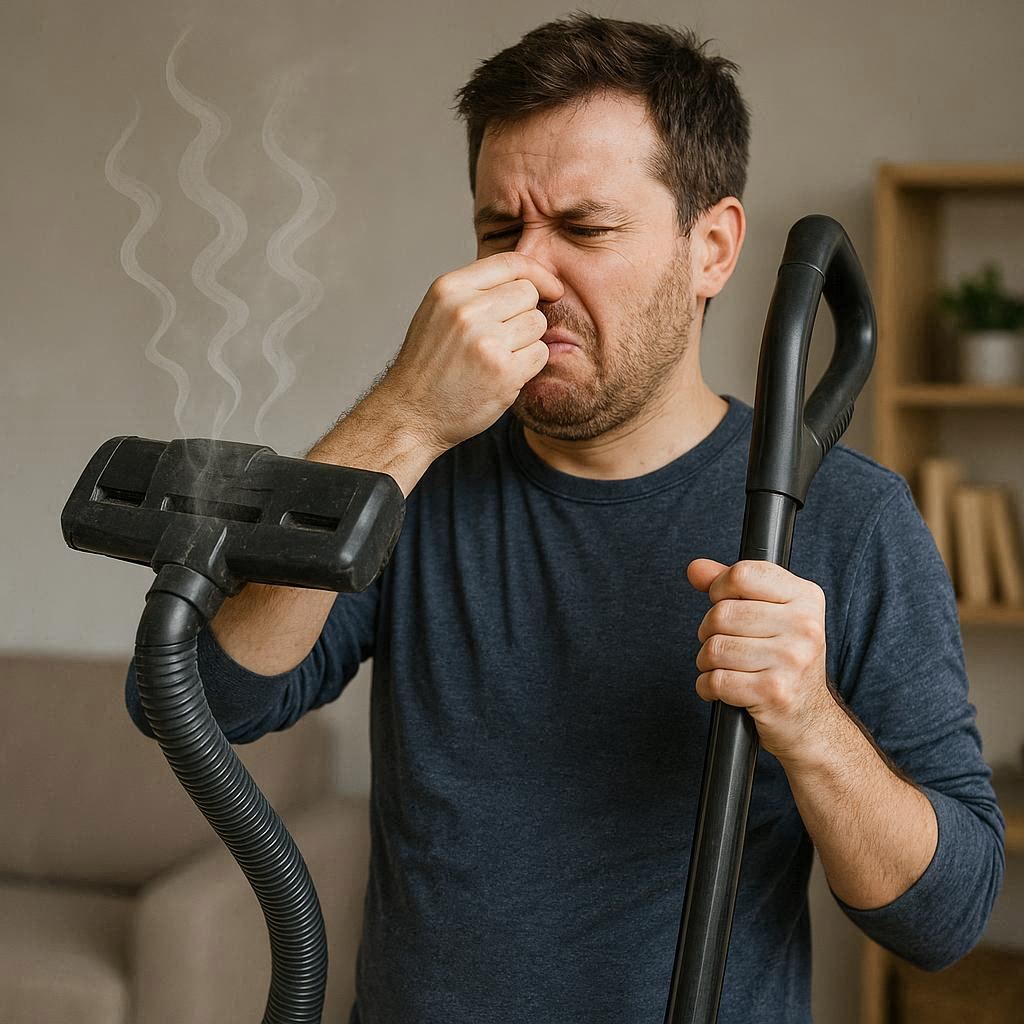
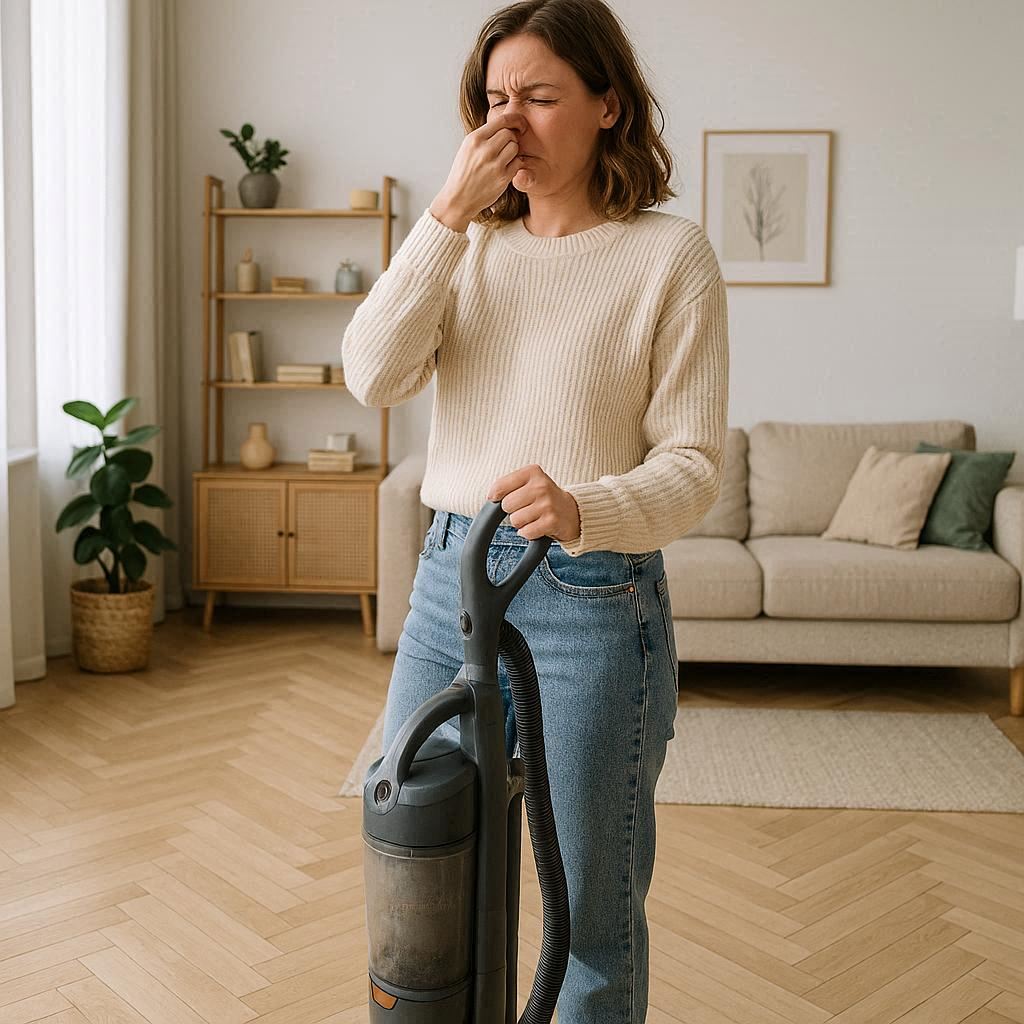
Why Your Vacuum Cleaner Smells Bad (And How to Fix It)
You know that moment when you’re hoovering away, feeling productive and domestic, and suddenly you catch a whiff of something absolutely foul? Your vacuum cleaner smells bad, and now instead of freshening your home, you’re essentially spreading eau de garbage around your living room. I’ve been there, and trust me, it’s both embarrassing and frustrating, especially when guests are arriving in an hour.
The good news is that smelly vacuums are incredibly common, and more importantly, they’re usually fixable without spending a fortune on repairs or replacements. Whether your vacuum cleaner smells like wet dog, burnt rubber, or something that died in there three weeks ago, there’s almost always a solution that doesn’t involve throwing the whole thing away.
I’ve dealt with every vacuum smell imaginable over years of testing and reviewing cleaning equipment. Some smells indicate simple maintenance issues, whilst others signal problems that need immediate attention. Understanding the difference between “this needs a good clean” and “this might catch fire” is crucial for both your home’s cleanliness and your safety.
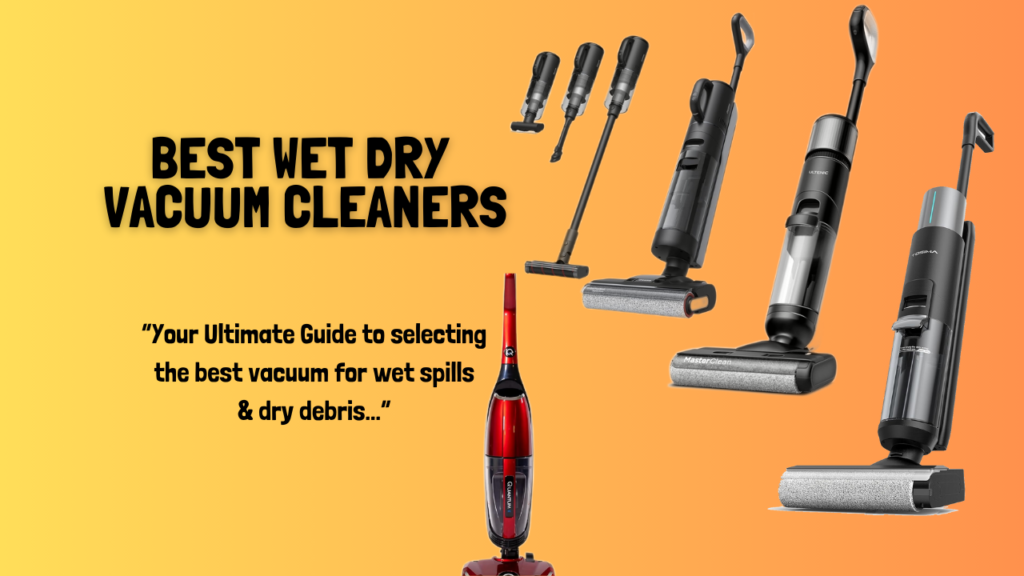
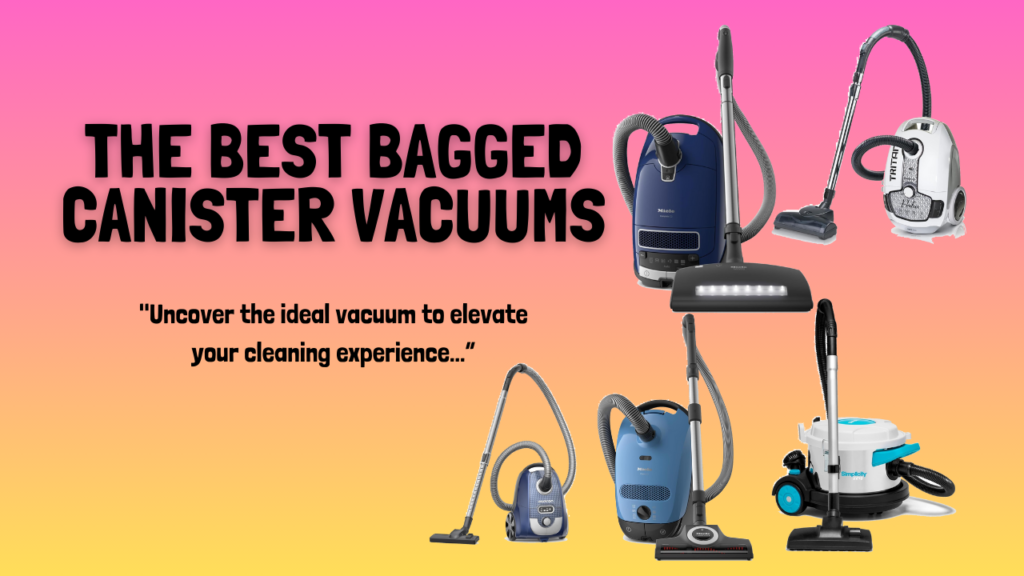
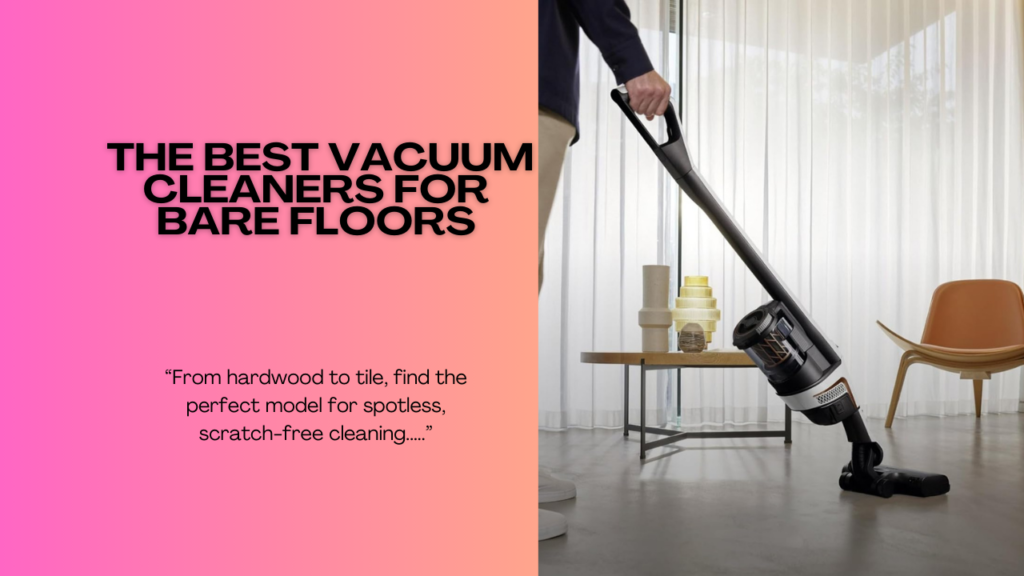
In this guide, I’ll walk you through exactly why vacuum cleaners develop unpleasant odours, what different smells actually mean, and most importantly, how to eliminate them. We’ll cover everything from basic cleaning techniques to preventive maintenance that stops smells before they start. If you’re considering whether it’s time for a new vacuum altogether, check out our guide to the best bagless canister vacuum cleaners to see what modern options offer in terms of odour control.
The reality is that most vacuum smells are preventable with proper care, but once they’ve taken hold, you need to address them systematically. Let’s get your vacuum cleaner smelling fresh again.
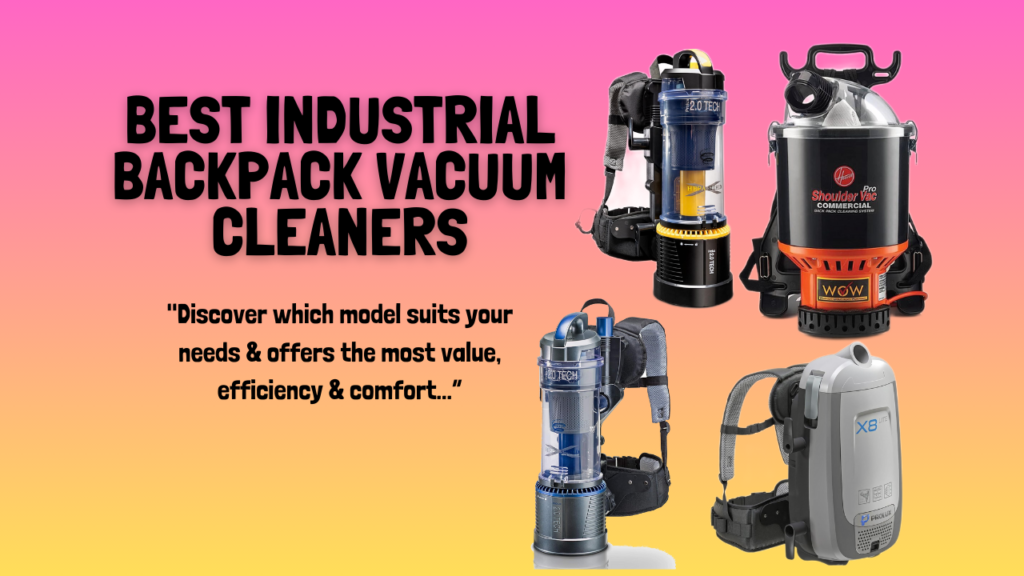
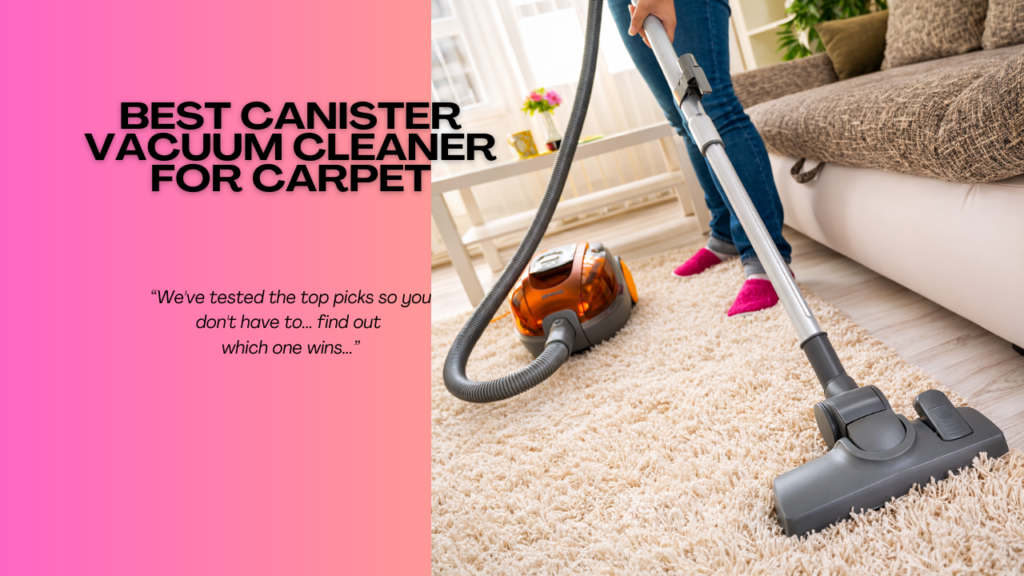
Looking for a fresh vacuum cleaner? Check Out Our List Of The Best Canister Vacuums
Why Does My Vacuum Cleaner Smell?
Understanding the root causes of vacuum odours helps you address them effectively rather than just masking the problem. Vacuum cleaners create the perfect environment for smells to develop through their basic operation.
Trapped Debris and Organic Matter
The primary culprit behind most vacuum smells is accumulated debris. Every time you hoover, you’re sucking up dust, hair, food particles, skin cells, and various organic matter. This material doesn’t always make it cleanly into the dust bag or bin. Instead, it gets trapped in filters, wound around brush rolls, stuck in hoses, or lodged in crevices throughout the vacuum’s interior.
Organic matter decomposes, and decomposition produces odours. That spilt milk you vacuumed last week? It’s now festering inside your machine. Pet hair carries dander, oils, and sometimes outdoor dirt that develops distinctive smells over time. Food crumbs attract moisture and begin breaking down, creating particularly unpleasant aromas.
Moisture and Mould Growth
Moisture is the vacuum cleaner’s smell enemy number one. Many people hoover bathrooms, kitchens, or spills without realising they’re introducing dampness into their machine. Even high humidity in your home can cause problems if the vacuum doesn’t dry properly between uses.
When filters, dust bins, or internal components remain damp, mould and mildew flourish. These fungi produce that characteristic musty, mouldy smell that seems to worsen each time you use the vacuum.
Dirty or Clogged Filters
Filters capture fine particles that would otherwise recirculate into your home’s air. Over time, these filters become saturated with dust, allergens, and microscopic debris. A clogged filter restricts airflow, causing the motor to work harder and run hotter. This combination of trapped particles and elevated temperatures creates persistent odours.
Many vacuum owners forget that filters need regular cleaning or replacement. Operating with dirty filters not only produces smells but also reduces suction power and potentially damages the motor.
Overheating Motor or Belt Issues
That distinctive burnt smell often indicates mechanical problems. Vacuum motors generate significant heat during operation. When airflow becomes restricted due to clogs or dirty filters, the motor can’t cool properly. Overheating motors produce a burnt electrical smell that’s impossible to ignore.
Drive belts that power brush rolls can also create burnt rubber smells when they’re worn, misaligned, or experiencing excessive friction. Whilst these smells are less common than organic odours, they require immediate attention to prevent damage.
Pet-Related Odours
Pet owners face unique vacuum smell challenges. Dog and cat hair carries oils, dander, and outdoor contaminants that create persistent odours. These biological materials cling to every surface inside the vacuum, and traditional cleaning methods don’t always remove them effectively.
Pet accidents add another dimension. Even small amounts of urine can create overwhelming smells that seem impossible to eliminate. The liquid soaks into porous materials inside the vacuum, requiring thorough cleaning to address.
Different Types of Vacuum Smells and What They Mean
Not all vacuum smells indicate the same problem. Understanding what different odours signify helps you diagnose issues and apply appropriate solutions.
Burnt Smell (Electrical or Rubber)
A burnt smell demands immediate attention. This typically indicates one of several mechanical issues that could damage your vacuum or create safety hazards.
Overheating Motor: When vacuum motors overheat, they produce a distinctive burnt electrical smell. This happens when airflow restriction prevents adequate cooling. The motor works harder, generates excessive heat, and begins burning dust accumulated on motor components.
Worn or Damaged Belt: The rubber belt driving the brush roll can produce burnt rubber smells when it’s worn, stretched, or misaligned. Friction from a stuck brush roll or bearing failure causes the belt to heat up excessively.
Blockage-Related Overheating: Complete airflow blockages force motors to work against resistance, generating extreme heat. This is arguably the most dangerous smell scenario because prolonged operation could damage the motor permanently or potentially cause fires.
Action Required: Stop using the vacuum immediately when you detect burnt smells. Inspect for blockages, check belt condition, and allow the motor to cool completely. If the smell persists after addressing these issues, professional repair or replacement may be necessary.
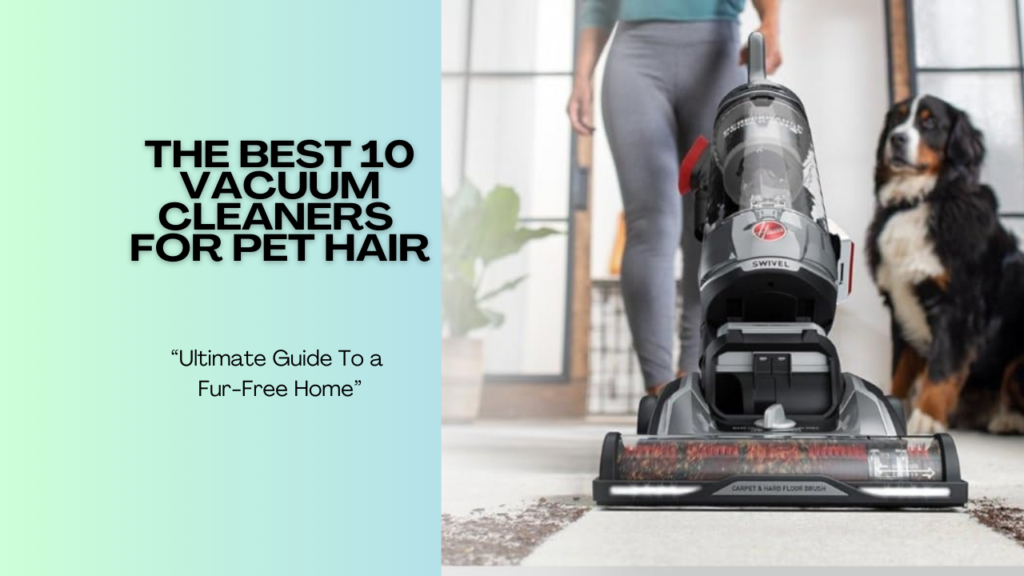
Looking for a fresh vacuum cleaner? Check Out Our List Of The Best Robot Vacuums
Musty or Mouldy Smell
This damp, unpleasant odour indicates moisture problems and potential mould growth inside your vacuum. It’s one of the most common smell complaints, particularly in humid climates or homes where bathrooms get hoovered regularly.
Damp Filters: Washable filters that weren’t dried completely before reinstallation become mould breeding grounds. Even brief dampness can initiate fungal growth that produces persistent musty smells.
Wet Debris: Hoovering damp areas or liquid spills introduces moisture throughout the vacuum’s interior. The dust bin, hoses, and internal cavities retain this moisture, creating ideal mould conditions.
Storage Conditions: Storing vacuums in damp basements, unheated garages, or humid spaces exacerbates moisture problems. Even small amounts of residual moisture become problematic in these environments.
Action Required: This smell requires thorough cleaning and drying of all removable components. Filters need complete drying before reinstallation, and the vacuum should be stored in dry locations.

Pet Odour Smell
This distinctive smell combines wet dog, cat dander, and outdoor contaminants that pets track indoors. It’s persistent because pet-related debris contains oils and biological materials that cling tenaciously to vacuum components.
Hair and Dander Buildup: Pet hair wraps around brush rolls, accumulates in filters, and clogs airways. The hair carries oils, skin cells, and outdoor materials that develop characteristic pet smells.
Accident Residue: Pet urine or vomit that gets vacuumed creates overwhelming odours. The liquid penetrates porous materials and requires enzymatic cleaning to eliminate completely.
Secondary Odours: Even if you haven’t vacuumed accidents directly, pet areas accumulate organic matter that develops smells over time. This material concentrates inside the vacuum.
Action Required: Deep cleaning with enzyme-based cleaners specifically designed for pet odours. Regular maintenance becomes even more critical in pet-owning households.
Rotten or Sewage-Like Smell
This particularly unpleasant odour usually indicates significant organic matter decomposition inside the vacuum. It’s the smell most likely to make guests comment and the hardest to eliminate.
Decomposing Food: Vacuuming kitchen floors inevitably picks up food particles. Small pieces of meat, dairy, or other perishables decompose rapidly, creating foul smells.
Dead Insects or Rodents: Occasionally, small creatures get sucked into vacuums and perish inside. This creates horrific smells that worsen over time.
Bacterial Growth: Certain bacteria thrive in the warm, dark environment inside vacuums. These microorganisms produce particularly offensive odours as they multiply.
Action Required: This smell requires immediate and thorough cleaning of all components. The dust bin needs emptying and washing, filters require replacement, and the entire vacuum needs disinfecting.
How to Get Rid of Vacuum Cleaner Smells: Step-by-Step Solutions
Now for the practical part – actually eliminating those unpleasant odours. These steps progress from basic maintenance to deep cleaning, addressing increasingly stubborn smell problems.
Step 1: Empty and Clean the Dust Container or Replace the Bag
Start with the most obvious source – accumulated debris in the dust collection system. This simple step eliminates many odour problems immediately.
For Bagless Vacuums: Remove the dust bin and empty it into an outside bin. Don’t just dump it in your kitchen bin, where smells will permeate your home. Wash the bin thoroughly with warm, soapy water. Use a bottle brush to reach corners and crevices where debris hides. Rinse completely and allow it to dry thoroughly before reinstalling.
For Bagged Vacuums: Replace the bag even if it’s not full. Partially full bags trap odours that intensify over time. When removing the bag, seal it in a plastic bag before disposing of it to contain smells. Check the bag housing area for debris that escaped the bag and clean it thoroughly.
Many people underestimate how much difference a clean dust bin makes. I’ve seen vacuums transformed from reeking to neutral just by properly cleaning this component. The key is thorough drying – even slight dampness leads straight back to mould problems.
Step 2: Clean or Replace All Filters
Filters are often the primary source of persistent vacuum smells. Most vacuums have multiple filters, and you need to address all of them.
Locate All Filters: Consult your manual to find every filter in your vacuum. Many models have pre-motor filters, post-motor filters, and HEPA filters. Missing even one filter during cleaning leaves a smell source untouched.
Washable Filters: Remove washable filters and rinse them under cool running water until the water runs clear. Gently squeeze (don’t twist or wring) to remove excess water. Allow filters to air dry completely – this typically takes 24-48 hours. Never reinstall damp filters.
Disposable Filters: Replace disposable filters according to manufacturer recommendations. If your vacuum smells bad despite other cleaning efforts, installing fresh filters often solves the problem immediately. Quality filters make a significant difference. Our guide to the best upright vacuum cleaners highlights models with excellent filtration systems that resist odour development.
HEPA Filters: These specialised filters capture microscopic particles but also trap odours. Understanding HEPA filter maintenance helps maximise their effectiveness and lifespan. Replace HEPA filters according to manufacturer schedules, typically every 6-12 months.
Step 3: Check for Clogs and Blockages
Hidden blockages create multiple problems: reduced suction, motor strain, overheating, and trapped debris that generates smells. Systematic inspection reveals obstructions you didn’t know existed.
Hose Inspection: Detach the hose and shine a torch through it. Look for accumulated debris, solidified clumps, or complete blockages. Use a broom handle or plumber’s snake to dislodge stubborn clogs. Wash the hose interior with warm soapy water, rinse thoroughly, and hang it to dry completely.
Airway Passages: Inspect all airways between the cleaning head and the motor. Remove any panels or covers necessary to access these passages. You’ll often find compressed layers of dust, hair, and debris blocking airflow.
Attachment Tools: Clean all attachment tools thoroughly. Crevice tools, upholstery brushes, and other accessories trap debris that contributes to the overall vacuum smell. Wash removable tools with soapy water and dry completely.
I once discovered a fossilised banana that had been wedged in a vacuum hose for weeks, creating an apocalyptic smell. The relief when that blockage finally dislodged was immense. Don’t underestimate how much odour a single hidden obstruction can generate.
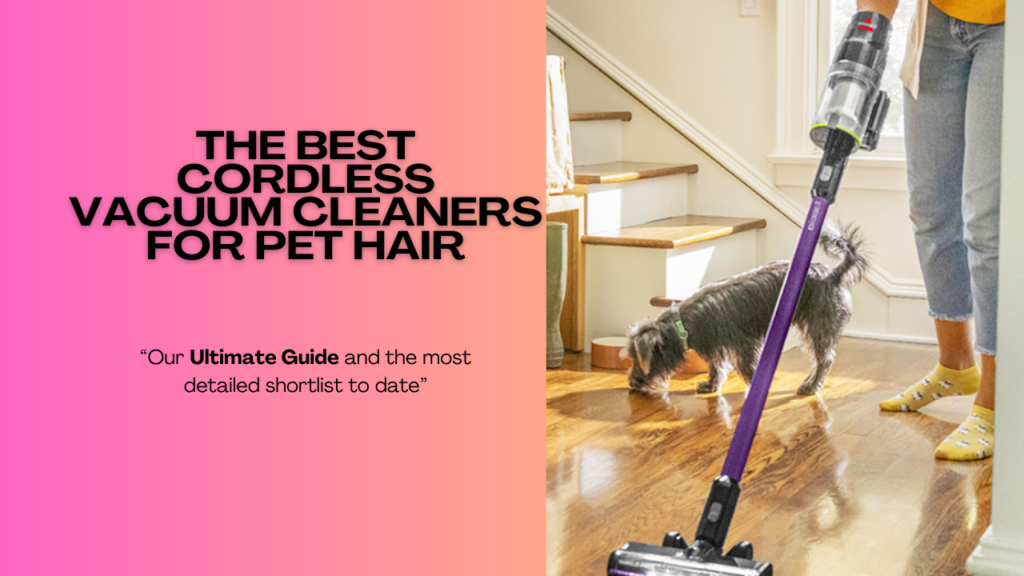
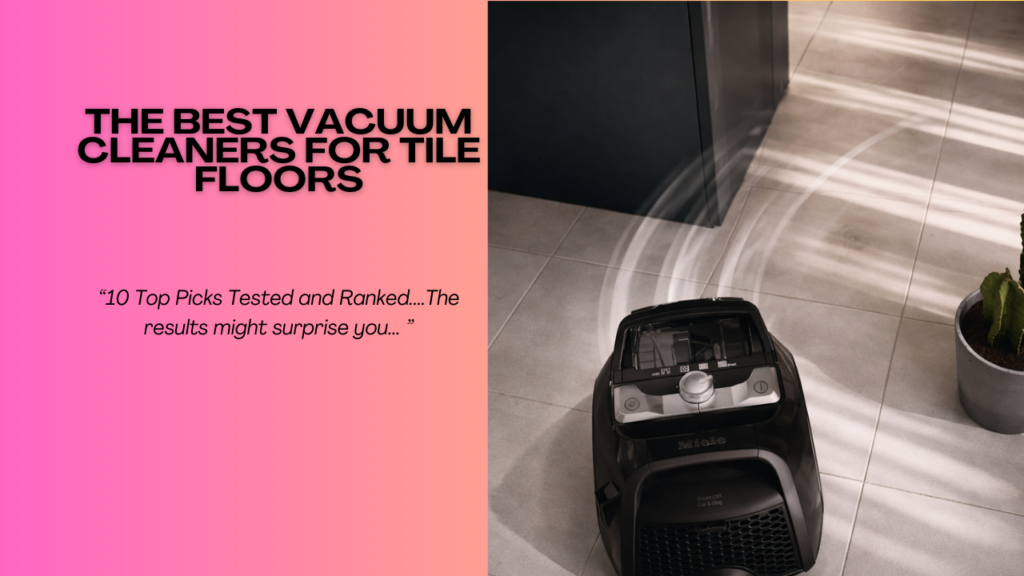
Looking for a fresh vacuum cleaner? Check Out Our List Of The Best Canister Vacuums
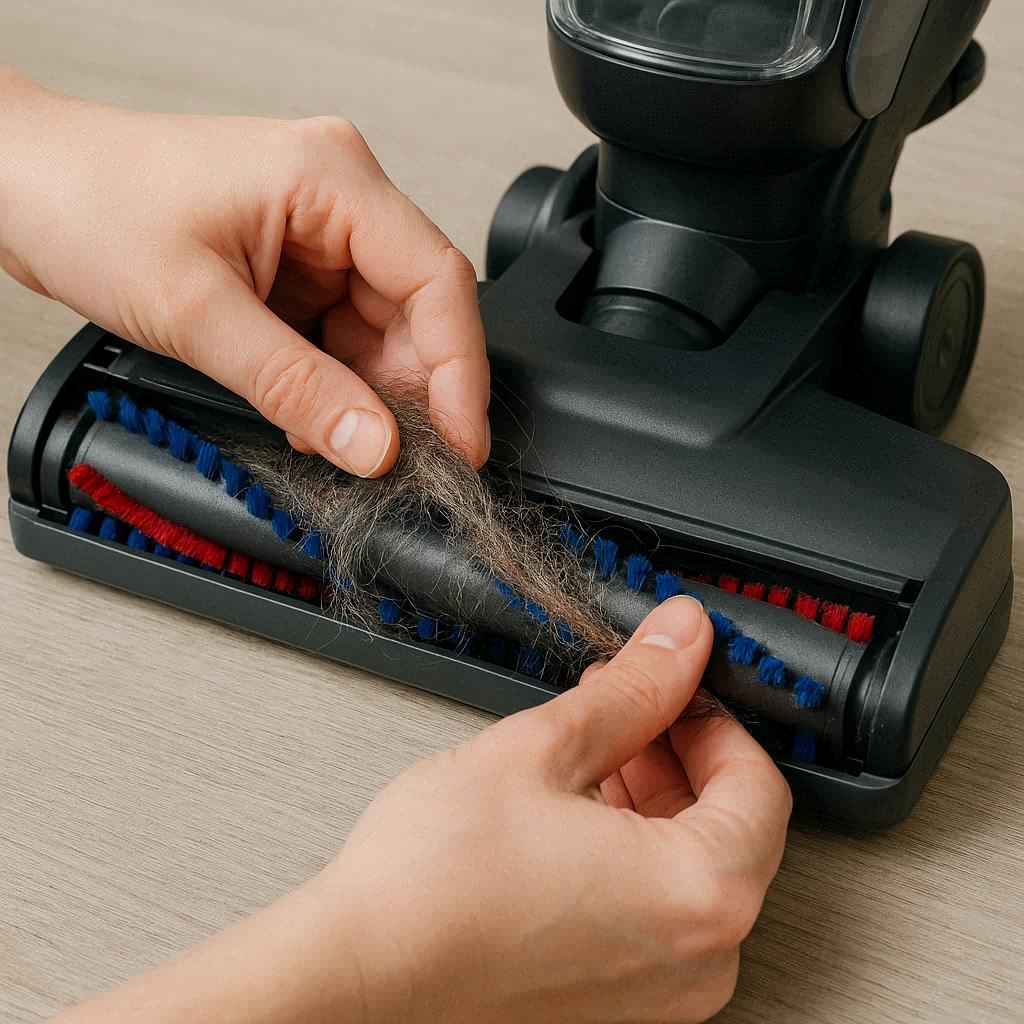
Step 4: Clean the Brush Roll
The brush roll accumulates hair, string, fibres, and debris that wrap tightly around it. This material traps moisture, develops odours, and eventually affects cleaning performance.
Remove the Brush Roll: Most brush rolls can be removed by unscrewing end caps or releasing locking mechanisms. Consult your manual if the removal process isn’t obvious.
Cut Away Tangled Material: Use scissors or a seam ripper to carefully cut through hair and fibres wrapped around the brush roll. Cut along the length of the roll, being careful not to damage the bristles or the roll itself. Pull away all cut material.
Wash the Brush Roll: Clean the roll with warm, soapy water, paying special attention to areas around bearings where grime accumulates. Use an old toothbrush to scrub stubborn residue. Rinse thoroughly and dry completely before reinstalling.
Check Bearings and Belt: Whilst you have the brush roll removed, inspect the bearings for debris or damage. Check the drive belt for wear, proper tension, and correct alignment. Replace the belt if it shows signs of wear or damage.
Pet owners should perform this maintenance monthly at a minimum. Pet hair creates brush roll buildup faster than any other debris type, and the associated odours develop quickly.
Step 5: Wash All Removable Parts
Beyond the dust bin and filters, many vacuum components are washable and benefit from regular cleaning.
Removable Covers and Panels: Take off any removable plastic covers or panels that protect internal components. Wash these with warm soapy water, scrubbing away accumulated dust and grime. Dry thoroughly before reassembling.
Cleaning Head Assembly: If your vacuum’s cleaning head can be partially disassembled, do so and clean all accessible surfaces. Wipe down areas around the brush roll housing where debris accumulates.
Wheels and Swivels: Don’t overlook wheels and swivel mechanisms. These components collect surprising amounts of hair, string, and sticky residue that contribute to the overall smell. Clean them thoroughly and ensure they move freely.
Exterior Surfaces: Wipe down all exterior surfaces with a damp cloth. Grime on the outside doesn’t directly cause smells, but complete cleaning leaves your vacuum feeling properly maintained.
The goal is to eliminate every possible odour source. Comprehensive cleaning addresses problems you didn’t even realise contributed to the overall smell.
Step 6: Deodorise the Vacuum
After thorough cleaning, deodorising helps eliminate lingering smells and leaves your vacuum smelling fresh.
Baking Soda Method: Sprinkle baking soda liberally over a large area of carpet or hard floor. Let it sit for 15-20 minutes to absorb odours, then vacuum it up slowly. The baking soda passes through your vacuum, neutralising odours throughout the system. This is the safest, most effective deodorising method.
Essential Oil Absorption: Put a few drops of essential oil (lavender, lemon, or eucalyptus work well) on a cotton ball. Place it in the dustbin. As you vacuum, airflow carries the pleasant scent through the system. Replace the cotton ball weekly.
Commercial Vacuum Deodorisers: Various vacuum deodorisers are available, typically in granule or tablet form. These products work adequately but aren’t necessary if you prefer natural solutions. Follow product instructions carefully to avoid damage to filters or motors.
What NOT To Use: Avoid putting essential oils directly on filters, as this can damage filter materials. Don’t use perfumes or air fresheners directly in the vacuum. These can leave sticky residues and potentially damage components. Never vacuum up wet substances specifically to spread scent.
Step 7: Address Specific Odour Types
Different smells require targeted approaches beyond general cleaning.
For Mouldy Smells: After cleaning all components, spray the interior with white vinegar diluted 1:1 with water. Vinegar kills mould spores and neutralises musty odours. Wipe down all surfaces and allow everything to dry completely. Consider running a dehumidifier in the room where you store the vacuum.
For Pet Odours: Use enzyme-based cleaners specifically designed for pet smells. These products break down the organic compounds, causing odours rather than just masking them. Enzyme cleaners work at a molecular level to eliminate pet-related smells effectively. Soak removable components in enzyme solution according to product directions.
For Burnt Smells: If cleaning doesn’t eliminate burnt odours, the smell may have permeated rubber or plastic components permanently. In this case, replacement might be necessary. Check whether your vacuum’s manufacturer sells replacement parts for particularly affected components.
For Sewage or Rotten Smells: These require the most aggressive approach. After thorough cleaning, disinfect all washable components with a mild bleach solution (one tablespoon of bleach per litre of water). Rinse extremely thoroughly to remove all bleach residue, as bleach can damage rubber components if not properly rinsed.
Preventive Maintenance: Stop Smells Before They Start
Prevention is infinitely easier than elimination. These regular maintenance habits keep your vacuum smelling fresh indefinitely.
Empty Frequently: Don’t wait until the dust bin is completely full. Empty it after each use or at least when it reaches half capacity. This single habit prevents most odour problems from developing.
Regular Filter Maintenance: Clean washable filters monthly and replace disposable filters according to manufacturer recommendations. Mark your calendar or set phone reminders to ensure you don’t forget.
Air Dry Between Uses: After vacuuming, remove the dust bin and leave it separate from the vacuum for 30 minutes to allow air circulation. This prevents moisture accumulation and mould growth.
Store Properly: Keep your vacuum in a dry, well-ventilated area. Avoid damp basements, unheated garages, or storage areas prone to humidity. Good storage conditions dramatically reduce mould and mildew problems.
Address Spills Immediately: Never vacuum liquid spills unless you have a specifically designed wet/dry vacuum. If you accidentally vacuum moisture, immediately empty the dust bin, remove filters, and allow everything to dry completely before reassembling.
Monthly Deep Clean: Schedule a monthly deep cleaning session where you systematically clean the dust bin, filters, brush roll, and hose. This regular attention prevents smell-causing buildup.
Use Quality Replacement Parts: When replacing filters, belts, or other components, invest in quality parts. Cheap aftermarket filters often fit poorly, reducing effectiveness and potentially causing odour problems.
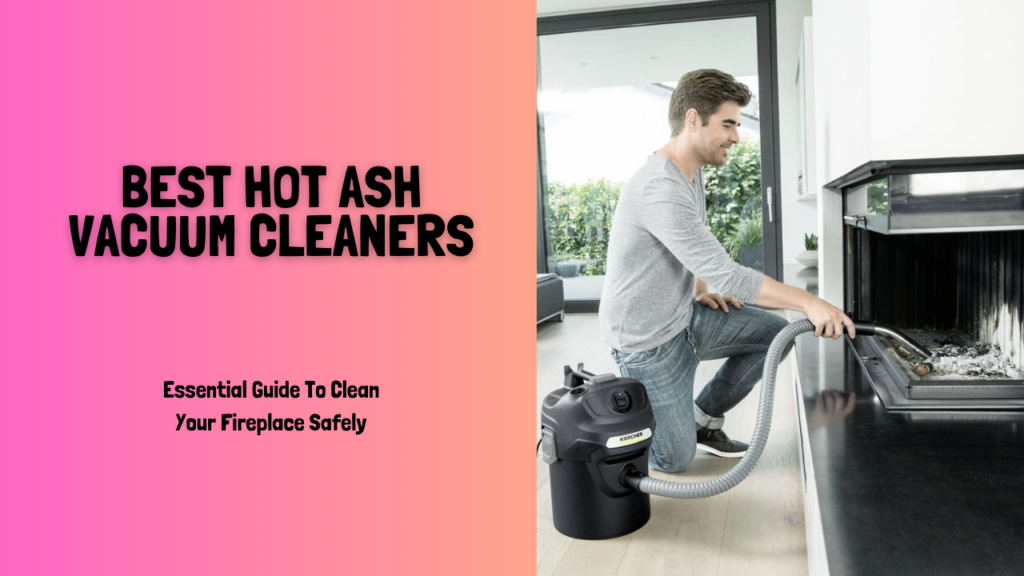
Mind What You Vacuum: Be conscious of what you’re vacuuming. Avoid food debris when possible, especially moist or oily materials. Don’t vacuum fireplace ash, construction dust, or other materials your vacuum isn’t designed to handle.
Following these preventive measures makes vacuum smells virtually impossible. I’ve maintained vacuums for years without odour issues simply by adhering to basic maintenance schedules.
When to Consider Replacement
Sometimes, despite your best efforts, a vacuum is beyond saving. Understanding when to repair versus replace helps you make economical decisions.
Persistent Burnt Smells: If burnt odours persist after addressing blockages and replacing the belt, motor damage might be permanent. Motor replacement typically costs more than buying a new vacuum in the same price range.
Pervasive Mould: Severe mould infiltration can prove impossible to eliminate completely. If the mould smell persists after multiple thorough cleanings, replacement might be healthier and more practical than continued remediation attempts.
Age and Wear: Vacuums typically last 5-8 years with proper maintenance. If yours is approaching this age and developing smell problems alongside other issues (reduced suction, mechanical failures), replacement makes more sense than extensive repairs.
Cost-Benefit Analysis: Compare repair or deep cleaning costs against replacement prices. If you’d spend more than 50% of a new vacuum’s cost addressing smell problems in an older unit, replacement is financially sensible.
Modern Features: Newer vacuums often include features that resist odour development: better filtration, antimicrobial dust bins, and improved airflow design. If you’re constantly battling smells in an older vacuum, upgrading to modern technology might solve the problem permanently.
Our guide to the best robot vacuum for carpet showcases models with advanced filtration and maintenance features that minimise odour problems through superior design.
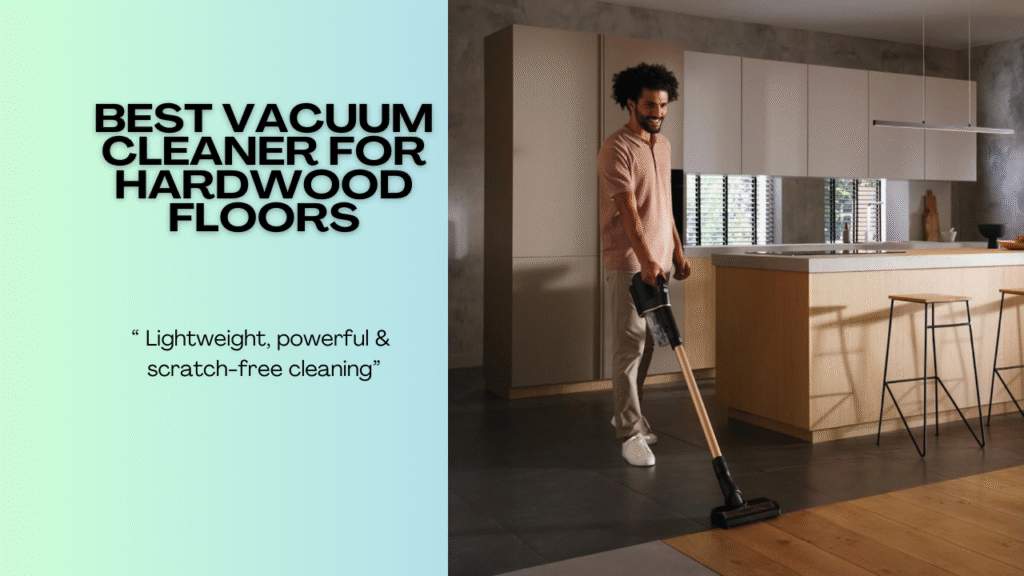
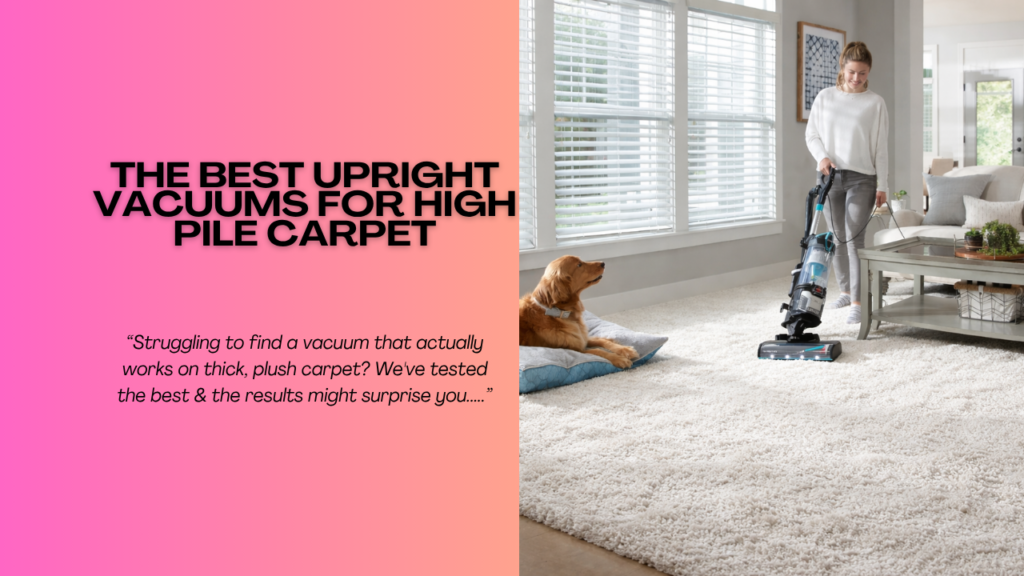
Looking for a fresh vacuum cleaner? Check Out Our List Of The Best Upright Vacuums
Conclusion On Why Your Vacuum Cleaner Smells Bad
Dealing with a vacuum cleaner that smells bad is frustrating, but it’s usually fixable with systematic cleaning and proper maintenance. The vast majority of vacuum odours stem from accumulated debris, dirty filters, moisture problems, or trapped organic matter rather than serious mechanical failures.
The key to success is understanding what different smells indicate and addressing the root cause rather than just masking odours. Musty smells require drying and mould removal. Pet odours need enzyme cleaners and thorough component cleaning. Burnt smells demand immediate inspection for blockages or mechanical problems. Once you’ve identified the smell type, targeted solutions eliminate it effectively.
Regular maintenance prevents most smell problems from developing. Emptying the dust bin after each use, cleaning filters monthly, removing brush roll tangles regularly, and storing your vacuum properly create conditions where odours simply don’t develop. These simple habits take minutes but save hours of deep cleaning later.
If you’ve tried everything and your vacuum still smells despite thorough cleaning, it might be time to consider replacement. Sometimes the cost and effort of remediation exceed the value of keeping an old, smell-ridden vacuum. Modern vacuums incorporate design improvements that resist odour development, making them worthwhile investments for households that previously struggled with smelly vacuums.
Remember that your vacuum cleaner smelling bad doesn’t mean you’ve done anything wrong. These machines handle dirty jobs in less-than-ideal conditions. Smells develop naturally over time, especially in homes with pets, children, or high traffic. The difference between a fresh vacuum and a smelly one is simply consistent maintenance and prompt attention when problems arise.
For those considering whether a new vacuum might solve persistent odour problems, visit our complete vacuum buying guide at https://smartvacguide.com/best-bagless-canister-vacuum-cleaners to explore options with superior filtration and maintenance features that keep smells at bay.
Your vacuum should make your home cleaner and fresher, not spread unpleasant odours around. With the information in this guide, you now have everything needed to diagnose vacuum smell problems, eliminate them completely, and prevent them from returning. Here’s to fresh-smelling homes and vacuums that actually improve your indoor air quality rather than compromising it.