Table of Contents
Keep Your Vacuum Cleaner Smelling Fresh
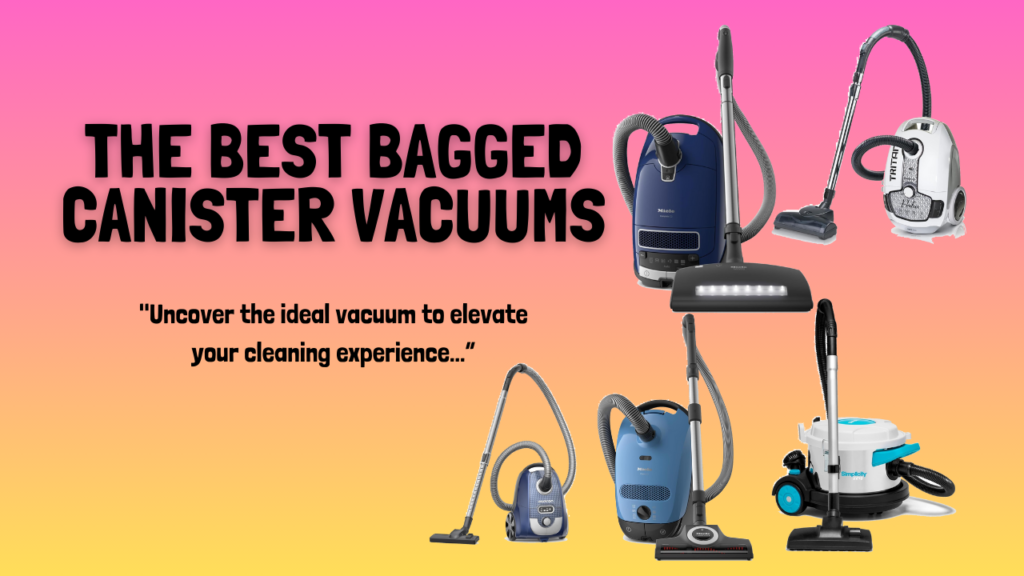
Your vacuum cleaner helps to maintain a fresh smell around your house but, in return, you should give your appliance some TLC to keep it performing at its best. Vacuum cleaners have a reputation of building up musty smells over time. Most notably Bagged models can start letting out bad odors that become hard to ignore.
If you don’t regularly clean your vacuum cleaner, it will eventually acquire the bad smell problem instead of freshening up the air in your house. If you’re reading this article because the bad odors have come to haunt you then fear not and read the simple step-by-step process below to help get your beloved appliance back to its fresh smelling days.
1st Step: Get Rid of Smelly Bags
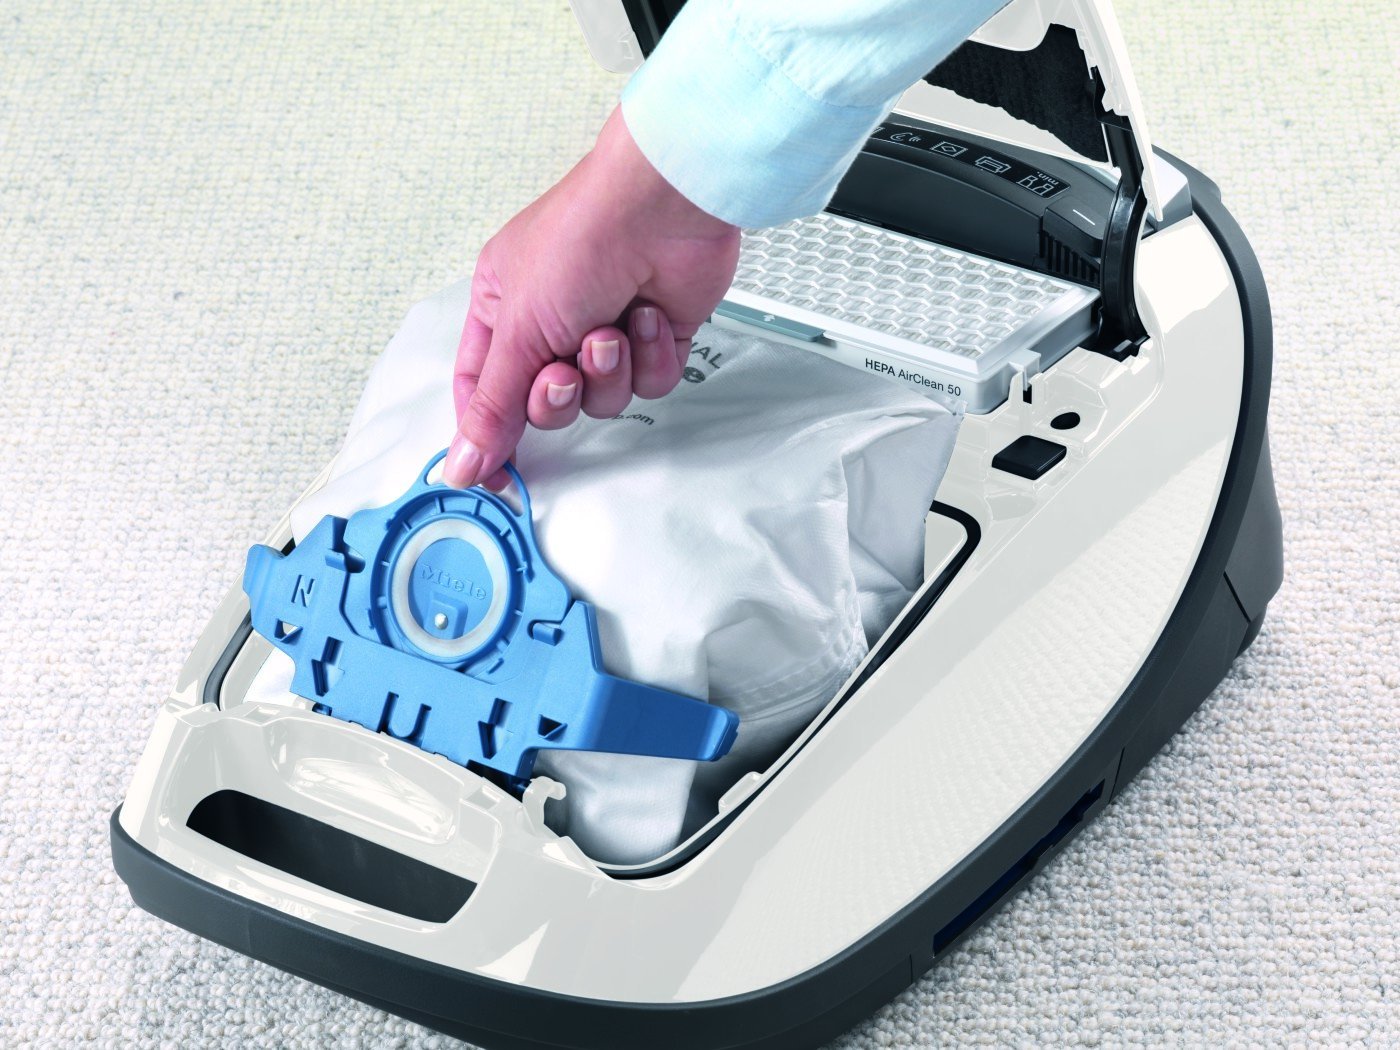 If you have a bagged vacuum cleaner begin by emptying out the old bag and replacing it with a new one. A bag that has been sat in your vacuum for a few months will usually be the source of the unpleasant smells. Replace it with a manufacturer approved bag wherever possible. Certains bags have extra filters to stop the smells from accumulated dirt to escape. You should choose a bag with filter layers rather than standard paper bags which might not address the odor issue.
Make sure that you replace your bag between 1 – 4 months, depending on how often you vacuum, or when its full. If your appliance uses a washable reusable bag then you should wash it immediately after emptying it and ensure that its completely dry before putting it back into the appliance.
If your appliance is bagless, empty out the dirt canister, wash it in lukewarm water and leave it to dry before placing it back into the unit.
2nd Step: Give your Vacuum a Good Clean
 The next step is to clean the exterior of your vacuum cleaner. Fill a bucket with warm soapy water and soak a lint-free cloth. Use the cloth to wipe around the whole surface meticulously making sure that any dirt or dust is cleaned off.
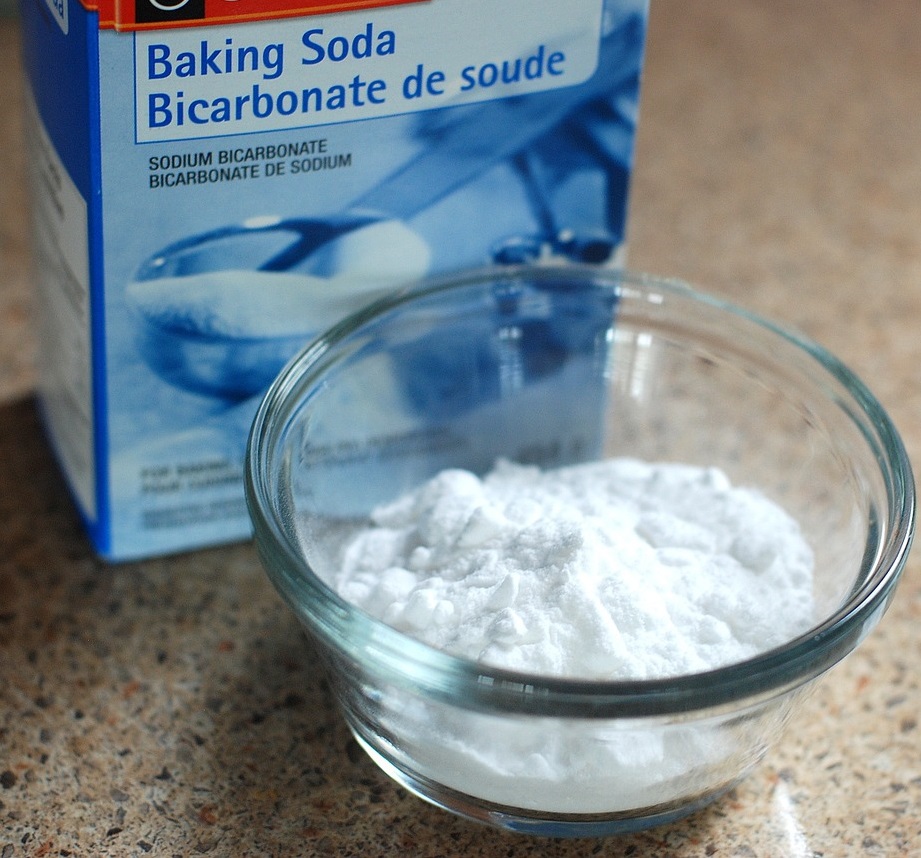
An effective alternative to soapy water would be to use Sodium Bicarbonate (baking soda). Mix 1 teaspoon of baking soda into about half a litre of water (500ml).
The mixture can then be used to clean the vacuum cleaner and all of it accessories including the hose and crevice tools.
Once washed, rinse the accessories with clean water and wipe them dry with a clean cloth. Thoroughly inspect the interior of the hose for any blockages and remove them using Steps 5 and 6 found here.
3rd Step: Filter Change
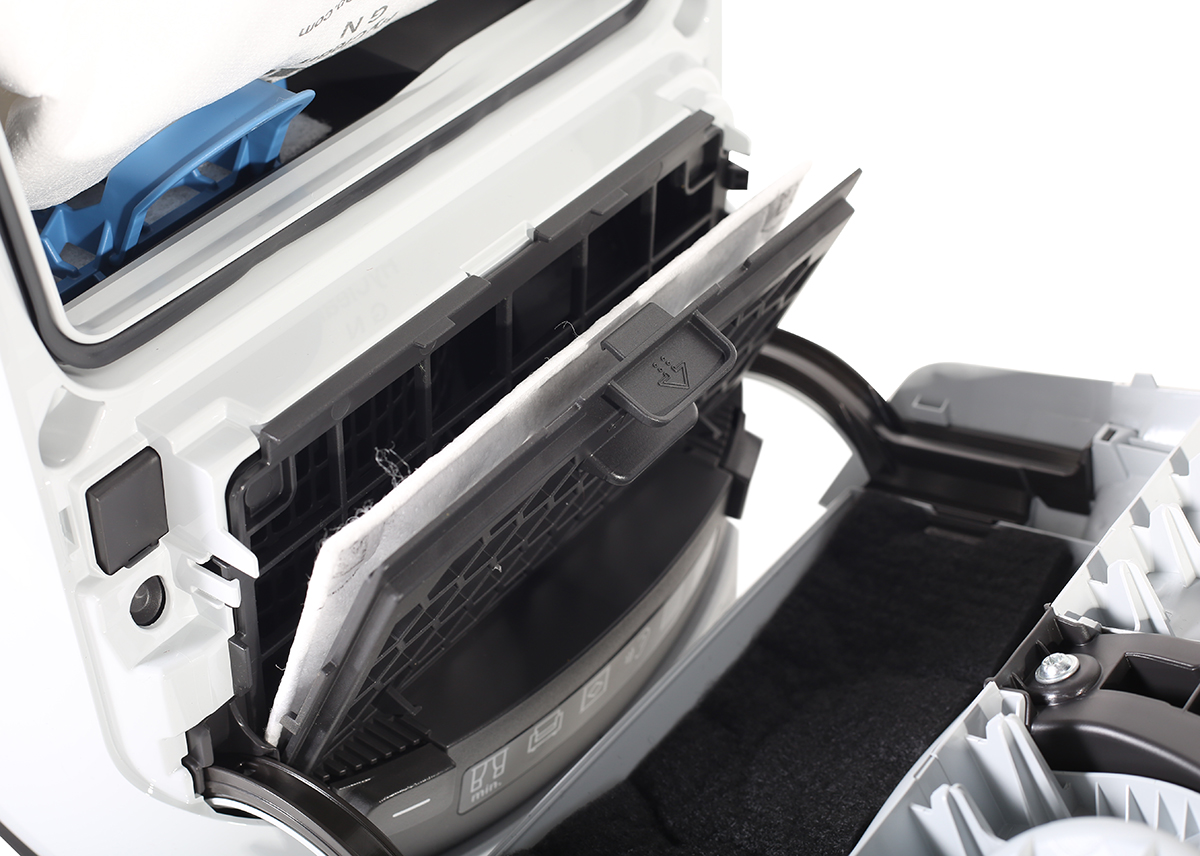
The filters in your vacuum cleaner help to ensure that allergens and dirt don’t return back into the air once sucked up into the unit. Naturally, the filters get worn and need replacing after prolonged usage.
It is possible to have robust filters that never need changing, but instead require occasional washing depending on your brand of vacuum cleaner. If you need to replace your filter try not to buy the cheapest option.
Filters are an vital part of your vacuum cleaner, a good quality filter will improve the air quality in your home by removing allergens and provide long term respiratory health benefits.
Be sure to inspect and replace the filters every 3- 12 months. Similar to dust bags, stick to manufacturer approved filters because a lot of unbranded filters are usually poor quality and can be made from low-grade materials that don’t capture and trap the dust or dirt. Choose wisely and pay a little bit more for approved filters.
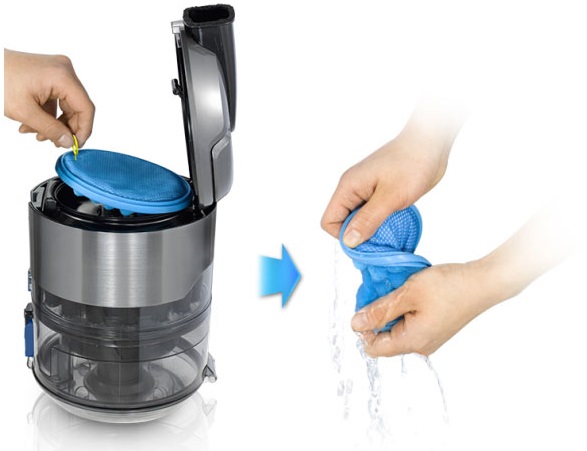
If your filter can be washed follow the instructions provided in your manufacturers handbook but usually I rinse it under lukewarm water running from the tap. The water will initially be black dirty water but keep squeezing out the filter until the water runs clear- I recommend that you use rubber gloves to avoid getting the dirty water all over your hands.
Once washed, allow the filters to completely dry between 24- 48 hours before placing them back into the unit.
4th Step: Vacuum Air Fresheners
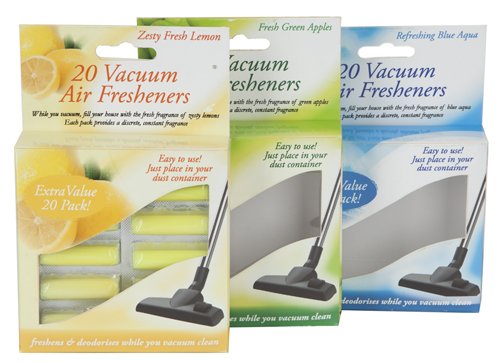
Another good idea to compliment your recently cleaned vacuum cleaner would be to buy air fresheners that can be placed in the dust bag or on the filters. When the vacuum cleaner is switched on it will give out a pleasant fragrant scent as the air comes out through the unit. There’s plenty of scents and variations to choose from online. If you have pets in your home you can purchase a freshener specifically for this.
My favourite fragrance would have to be frangipani and jasmine as it gives the home an uplifting floral aroma after vacuuming. Some fragrances are stronger and some are subtle- it’s purely down to personal preference. Try a few different ones and see what you like best.
5th Step: Cinnamon Scent
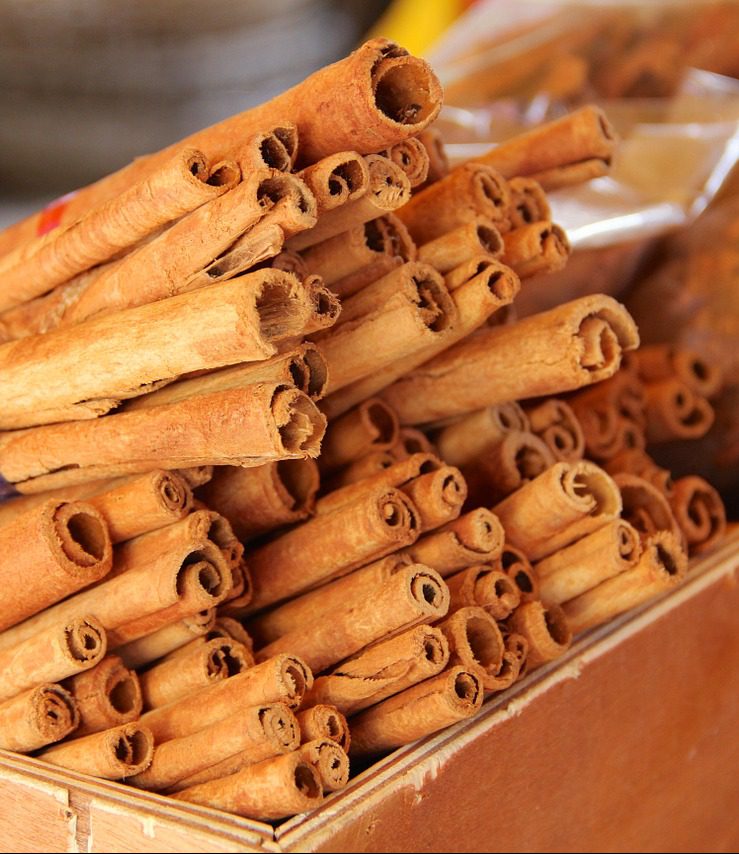
A known fact about cinnamon is that it extracts bad odours from the air. Cinnamon has a very distinct dominating, but welcoming, scent that can combat unpleasant odors caused from dirt sucked up by your vacuum cleaner.
If you would rather use cinnamon as a natural fragrance deodoriser instead of air fresheners then all you need to do is place half a teaspoon of cinnamon spice into the dust bag or plastic bin and you’re done. The next time you switch on your vacuum cleaner you’ll be treated to the sweet smell of cinnamon which will linger in the air (it always reminds me of Christmas).
If you’d prefer an alternative to cinnamon then you can try other sweet scented spices such as allspice, cardamom, cloves or potpourri.
Conclusion
The key to keeping bad smells away is to make sure that your vacuum cleaner and its parts are cleaned or replaced regularly. Nobody enjoys bad odors in their house especially those that can be easily prevented by maintaining your cleaning appliance. Don’t be afraid to experiment with different air fresheners or sweet scented spices and drop a comment below to share what has worked for you. Thanks for reading!

